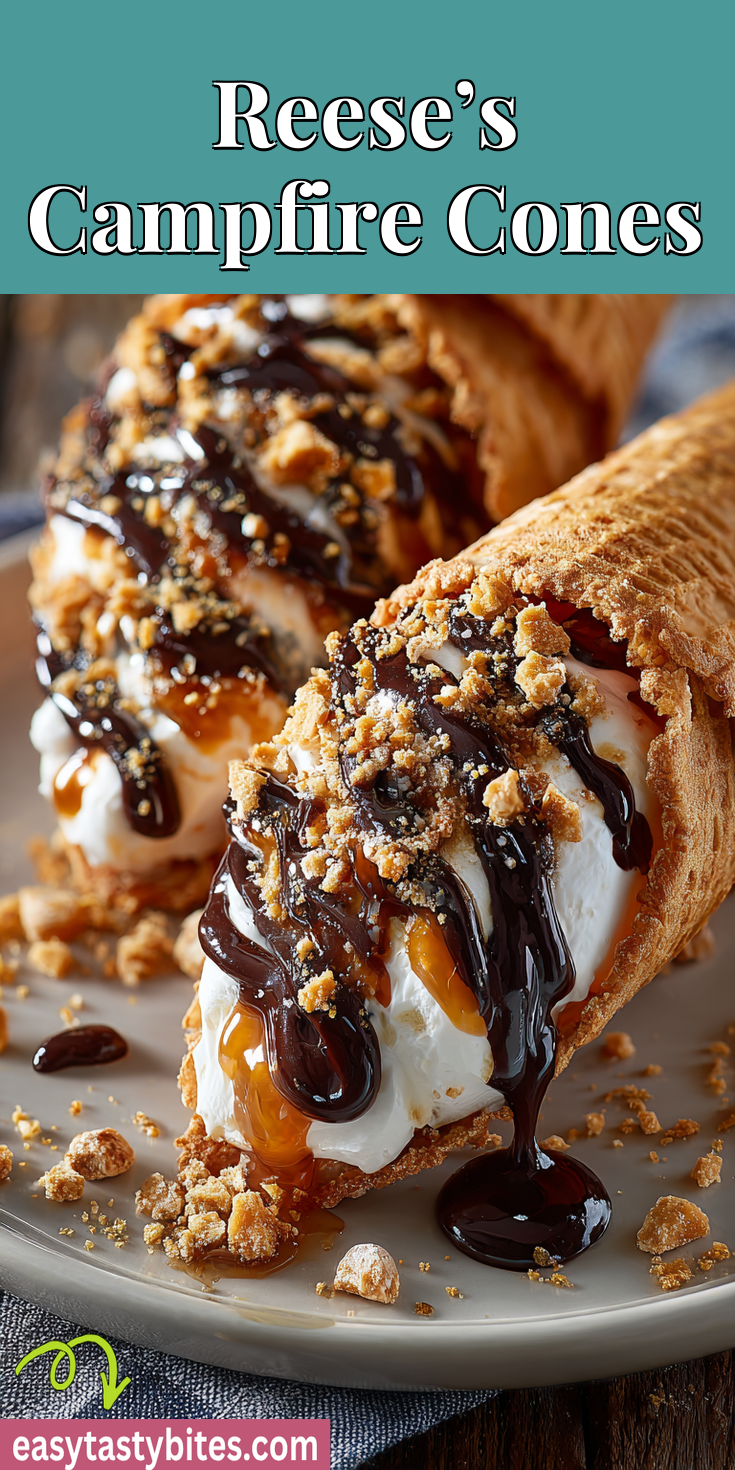
Want a dessert that feels like a decadent treat but costs pennies per serving? I live for these moments. My secret weapon is the Reese’s Campfire Cones. It’s the kind of easy dessert that makes everyone think you’re a genius, without the fancy price tag. It’s the perfect sweet counterpart to a savory classic like Grandma’s Favorite Potato Soup with a modern twist.
You don’t need expensive ingredients to eat well, and that goes double for sweets. This quick dessert is proof. We’re talking about a few simple, affordable items you can keep on hand. When a sweet craving hits, you’ll be ready in minutes.
I make these all summer long, and even indoors when it’s cold. They are endlessly customizable and always a hit. Let me show you how to make magic without breaking the bank.
Recipe Overview
Here’s the quick snapshot of what we’re making today. It’s as simple as it gets.
- Cuisine: American
- Category: Dessert
- Prep Time: 5 minutes
- Cook Time: 3-5 minutes
- Total Time: 10 minutes
- Servings: 6 cones
Why This Recipe Saves You Money
I choose recipes that give you maximum joy for minimum cash. This one is a champion.
First, the ingredients are basic. Sugar cones, chocolate chips, and mini marshmallows are pantry staples that cost very little. They also have a long shelf life, so there’s no rush to use them.
Second, it uses minimal energy. You cook these over a campfire or in a home oven for just a few minutes. That keeps your utility bill in check compared to baking a whole cake.
Finally, it cuts food waste. You use exact amounts with no complicated leftovers. Every bit gets eaten, which is the ultimate budget win.
My Tips for Smart Shopping on a Budget
Getting the best price is a skill. Here’s how I shop for treats without overspending.
Reese’s Campfire Cones Recipe
The Budget-Friendly Ingredient List
Notes
Enjoy your homemade Reese’s Campfire Cones Recipe!
Nutrition Information
Buy store-brand chocolate chips and marshmallows. The taste difference is zero, but the savings are real. I always check the unit price on the shelf tag.
Look for sugar cones in the seasonal aisle. After summer holidays, they often go on clearance. Stock up then and store them in a airtight container.
If you love peanut butter cups, buy the mini Reese’s pieces or generic peanut butter chips by weight. They often cost less than the full-size cups and distribute better in the cone.
The Budget-Friendly Ingredient List
Here’s everything you need. See? Nothing fancy or hard to find.
- 6 regular sugar ice cream cones
- 1 cup semi-sweet chocolate chips
- 1 cup mini marshmallows
- 1/2 cup mini Reese’s peanut butter cups (or peanut butter chips)
- Optional: Crushed peanuts, sprinkles, or a drizzle of peanut butter
How to Make It (Step-by-Step)
Follow these steps and you can’t go wrong. It’s seriously that simple.
1. Start by setting up your workstation. Lay out six squares of aluminum foil, each big enough to wrap a cone. Preheat your oven to 350°F if you’re cooking indoors.
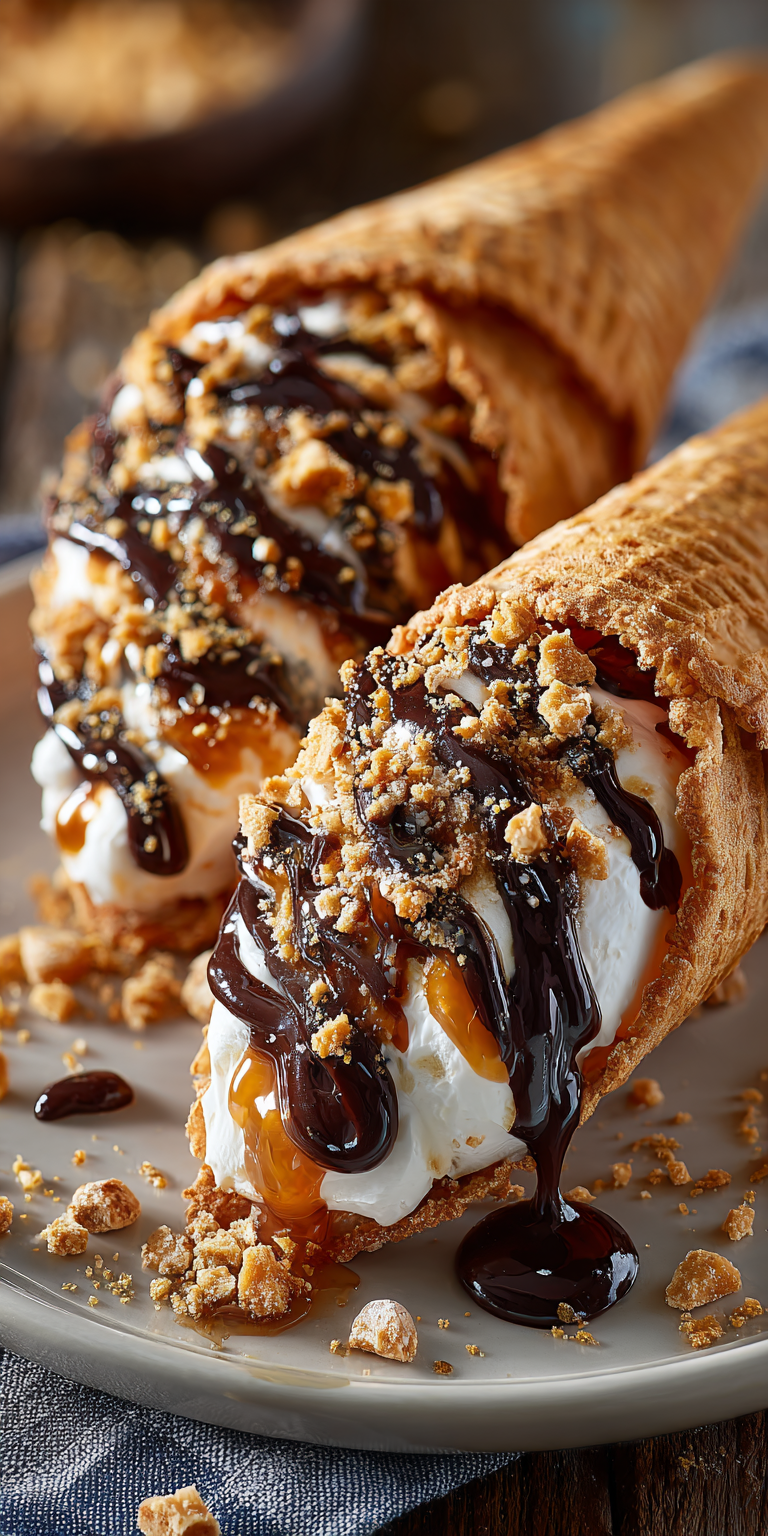
2. Hold a sugar cone and fill it. I like to layer: a few chocolate chips, a few marshmallows, a few peanut butter pieces. Repeat until the cone is full but not overflowing.
3. Carefully wrap each filled cone in its foil square. Twist the top to seal it well. This keeps all the melty goodness inside.
4. Cook your cones. For a campfire, place them near hot coals (not flames) for 3-5 minutes. In an oven, place foil packets on a baking sheet for 5 minutes.
5. Let them cool for a minute before unwrapping. The filling will be deliciously molten. Unwrap and enjoy immediately with napkins handy!
How to Use Up Every Last Bit (No Waste!)
I hate throwing food away. Here’s how to make sure every ingredient gets used.
Have a handful of leftover chocolate chips and marshmallows? Toss them into a mug with milk for instant hot chocolate. It’s a bonus treat for another day.
If your sugar cones get stale or break, don’t toss them. Crush them up and use them as a topping for yogurt or pudding. It adds a wonderful crunch.
Extra peanut butter cups or chips? Keep them in the freezer. They are perfect for topping oatmeal, or you can bake them into a future batch of Ground Beef & Potato Shepherd’s Pie for a surprising and delicious twist.
Nutrition Notes
This is a treat, so let’s enjoy it mindfully. Here’s a rough idea of what’s in one cone.
- Calories: ~250
- Total Fat: 12g
- Saturated Fat: 6g
- Carbohydrates: 35g
- Sugars: 25g
- Protein: 3g
These numbers can change based on your specific ingredients and toppings. Sharing one cone between two people is a great way to satisfy a craving for fewer calories.
Common Questions About This Recipe
I get a few questions every time I share this. Here are the answers you need.
Can I make these ahead of time?
You can assemble the cones a few hours ahead and keep them wrapped at room temperature. Wait to cook them until just before serving. The texture is best when they’re fresh and warm.
What if I don’t have a campfire or oven?
No problem! A toaster oven works perfectly. You can even use an air fryer. Cook at 350°F for about 4 minutes. Just make sure the foil packet fits.
Are there other filling ideas?
Absolutely! This is where you get creative. Try chopped nuts, butterscotch chips, crushed cookies, or even a slice of strawberry. Use what you have on hand to keep it budget-friendly.
See? Making incredible food doesn’t require a lot of money. It just needs a little creativity and a focus on simple, good flavors. This recipe is a perfect example of that philosophy in action.
It’s a guaranteed crowd-pleaser that respects your wallet. I hope it becomes your go-to quick dessert for movie nights, campouts, or just because. It’s the sweet finish to a comforting meal like this Easy Ground Beef & Potato Shepherd’s Pie. Give it a try this week and taste the magic for yourself.
Let me know your own money-saving twists for these cones in the comments below! What fillings did you try? Please leave a rating!