Struggling to find one meal the entire family will eat without a chorus of “eww”? I’ve been there more times than I can count. The nightly dinner table standoff is real, and I feel your pain.
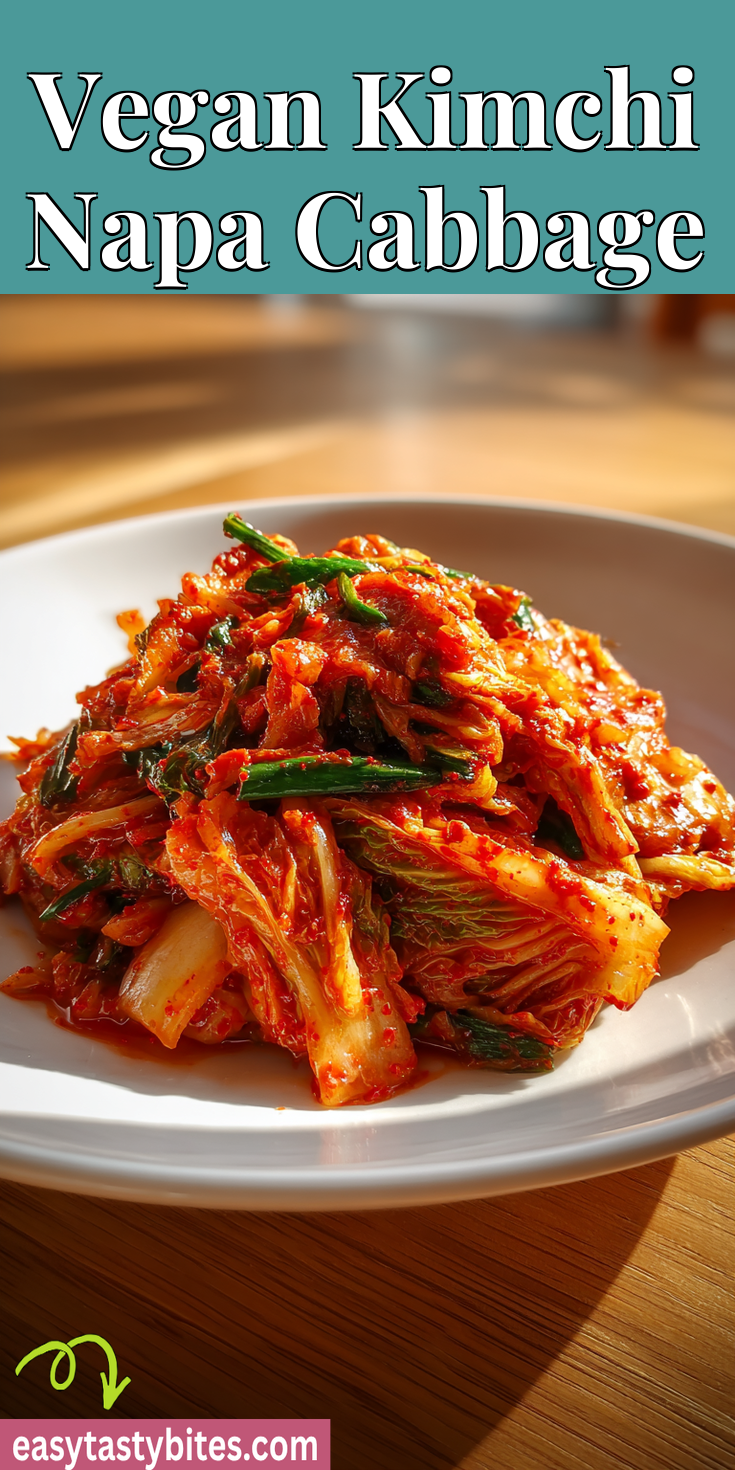
That’s why I’m so excited to share our family’s new favorite: Vegan Kimchi Napa Cabbage. I know, “kimchi” might sound intimidating. But trust me, this version is a total game-changer for picky eaters. It’s perfect for adding a probiotic punch to simple meals, much like a cozy bowl of creamy vegan potato soup.
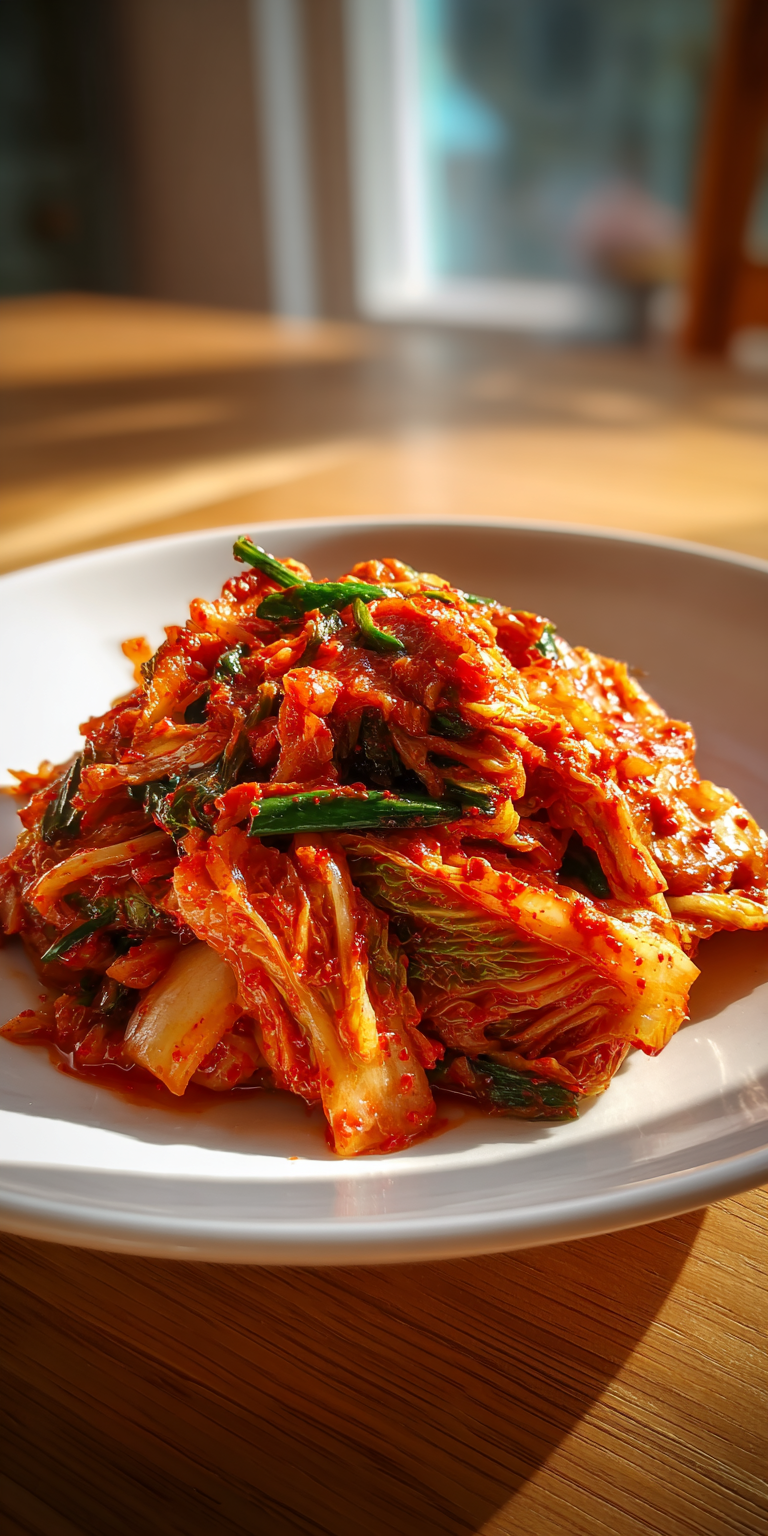
We’re talking crunchy, tangy, and just a little funky in the best way. It’s a simple ingredient recipe that doubles as a weeknight dinner hero or a perfect finger food. Let me show you how it won over my toughest critics.
Recipe Overview
- Cuisine: Korean-Inspired
- Category: Side Dish, Appetizer, Condiment
- Prep Time: 30 minutes (plus 1-5 days fermenting)
- Cook Time: 0 minutes
- Total Time: 30 minutes active time
- Servings: Makes about 1 quart
Why Even My Picky Eaters Love This!
My kids surprised me with this one. The magic is in the crunch. That satisfying texture from the Napa cabbage is a huge win.
It’s also not too spicy. We control the heat level completely. For them, it’s like a fun, tangy pickle. They love it on the side of rice or tucked into a wrap.
It adds a big flavor punch to simple foods. A little bit makes plain noodles or tofu instantly more exciting. That’s a parent win in my book. It’s a fantastic way to add excitement to a simple meal, similar to how a hearty Irish chicken and potato soup can be a comforting centerpiece.
Our Family-Friendly Ingredient List
No fancy stuff here! This is all about simple, whole ingredients you can feel good about.
- 1 medium head Napa cabbage (about 2 lbs)
- 1/4 cup coarse sea salt or kosher salt (for brining)
- 5-6 cloves garlic, minced
- 1 tablespoon grated fresh ginger
- 3-4 green onions, chopped
- 1 medium carrot, julienned or grated
- 1/4 cup Korean red pepper flakes (gochugaru) – use less for mild
- 2 tablespoons soy sauce or tamari (for gluten-free)
- 1 tablespoon maple syrup or sugar
- 4 cups water (for the brine)
How to Get the Kids Involved in Cooking This
My kids are much more likely to try something they helped make. This recipe has perfect, safe jobs for little hands.
Job #1: The Salt Sprinkler. After you cut the cabbage, let them sprinkle the salt between the layers in the big bowl. It’s a fun, sensory task.
Vegan Kimchi Napa Cabbage Recipe
Our Family-Friendly Ingredient List
The Full Step-by-Step Instructions
Notes
Enjoy your homemade Vegan Kimchi Napa Cabbage Recipe!
Nutrition Information
Job #2: Veggie Mix Master. Once the paste is ready, they can wear gloves and help massage it into the cabbage. They think the bright red color is awesome.
The Full Step-by-Step Instructions
Don’t let the steps fool you—it’s mostly waiting time. Here’s exactly how we do it.
- Chop the Napa cabbage into bite-sized pieces. Place them in a very large bowl.
- Sprinkle the salt evenly over the cabbage. Pour the 4 cups of water over it. Let it sit for 1.5 to 2 hours, mixing it around every 30 minutes.
- While the cabbage brines, make the paste. In a medium bowl, mix the garlic, ginger, green onion, carrot, red pepper flakes, soy sauce, and maple syrup.
- Drain the cabbage and rinse it VERY well under cold water. You want to wash off all the extra salt.
- Squeeze the rinsed cabbage to remove as much water as you can. This is key for crunch!
- Put the squeezed cabbage back in the big, clean bowl. Add the red pepper paste.
- With clean hands (or gloves!), massage the paste into every piece of cabbage. Get it really well coated.
- Pack the kimchi tightly into a clean, large glass jar. Press down so the liquid rises above the cabbage.
- Leave about 1-2 inches of space at the top. Loosely seal the jar.
- Let it ferment at room temperature for 1-5 days. “Burp” the jar daily to release gas. Taste it after day 1! When it’s tangy enough for you, move it to the fridge.
Fun Twists for Different Tastes
Every family is different. Here’s how to tweak this dish to please your crew.
For super sensitive palates, serve the finished kimchi on the side as a condiment. Let them add as much (or as little) as they want.
Want to add a protein? For the adults, I love to pan-fry some cubed tofu or tempeh and toss it with a spoonful of kimchi at the end. So good!
Make it a “Kimchi Bowl” night! Set out bowls of rice, kimchi, edamame, and cucumber. Let everyone build their own. If you’re looking for another one-pot, build-your-own style meal, you have to try our vegan one-pot lasagna soup.
Storing & Reheating (Perfect for Busy Nights)
Once it’s in the fridge, your kimchi is a ready-to-go lifesaver. It keeps getting more flavorful for weeks.
Store it in its sealed jar in the refrigerator. Always use a clean spoon to take some out.
There’s no reheating needed! It’s meant to be eaten cold or at room temperature. Pull it straight from the fridge and add it to your plate.
Nutrition Notes
This is a healthy win you can feel great about. Here’s the simple breakdown.
- Packed with probiotics from fermentation for gut health.
- Full of vitamins A and C from the cabbage and carrot.
- Low in calories and fat.
- A good source of fiber.
- Naturally vegan and gluten-free (with tamari).
FREQUENTLY ASKED QUESTIONS
Is it really spicy?
You control the heat! The Korean red pepper flakes (gochugaru) are flavorful but not burn-your-mouth hot. Start with 2 tablespoons for a very mild version. You can always add more later.
My jar is bubbling and liquid came out the top. Is that okay?
Yes, that’s totally normal! It’s a sign the fermentation is working. This is why we leave space at the top and “burp” it. Just clean the rim and place the jar on a small plate to catch any overflow.
How do I know when it’s ready to eat?
Trust your taste buds! After 24 hours, try a small piece. It will get more sour and tangy each day. Move it to the fridge when it tastes just right to you. We usually like it around day 3.
I hope this recipe brings as much fun and flavor to your table as it has to ours. It turned a “scary” food into a beloved staple in our house.
The best part is watching the kids ask for it by name. It proves that with a little patience, picky palates can grow to love amazing things.
I’d love to know if this was a hit with your family! Did your kids get involved in the massaging? Please leave a comment and rating below!