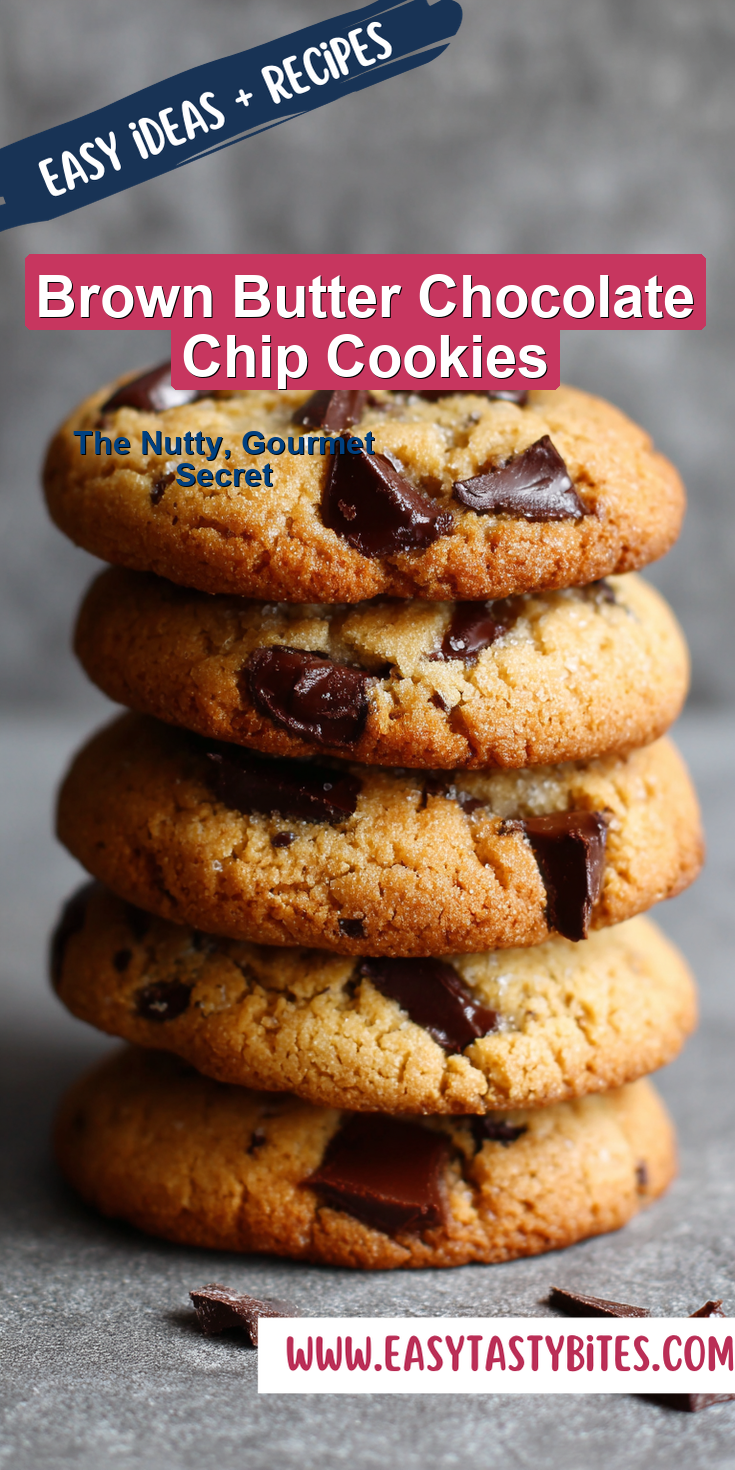
You’ve made chocolate chip cookies before. You’ve probably even tried a recipe with browned butter. But I’m willing to bet you’ve never made them like this. If you love baking with classic flavors, you might also enjoy these bakery-style banana chocolate chip muffins for another soft and indulgent treat.
There’s a quiet secret in my kitchen that turns a great cookie into a gourmet experience. It’s not just about the browned butter, though that’s the star. It’s about what you do with it.
Ready to learn the trick that makes these Brown Butter Chocolate Chip Cookies the only recipe you’ll ever need? Let’s get started.
Recipe Overview
Here’s the quick look at what we’re making today.
- Cuisine: French-American Fusion
- Category: Dessert
- Prep Time: 25 minutes (plus 1 hour chill)
- Cook Time: 12-14 minutes per batch
- Total Time: 1 hour 40 minutes
- Servings: 18 large cookies
The Secret Ingredient That Makes All the Difference
I see you nodding. Yes, the browned butter is the magic. But the real secret is hiding in plain sight: an extra egg yolk.
Most recipes use one whole egg. We use one whole egg plus one extra yolk. That extra fat and lecithin gives the dough a richer, more tender crumb. It also helps the cookies stay soft and chewy for days.
It’s a small change with a huge payoff. It balances the deep, nutty flavor of the butter perfectly.
Why This Method is Better (My Pro-Tips)
I don’t just brown the butter. I treat it with the respect a French technique deserves. The goal is maximum flavor infusion.
First, I brown it until the milk solids are a deep hazelnut color. Then, I immediately pour it over my chopped chocolate. This does two things. It stops the cooking so the butter doesn’t burn.
Brown Butter Chocolate Chip Cookies Recipe
The “Upgraded” Ingredient List
The Pro-Method (Step-by-Step)
Notes
Enjoy your homemade Brown Butter Chocolate Chip Cookies Recipe!
Nutrition Information
More importantly, it melts the chocolate into the hot butter. This creates a seamless, intensely chocolate-infused fat base. It’s the foundation of our fancy dessert.
The “Upgraded” Ingredient List
Every ingredient here has a job. Use the best you can find.
- 1 cup (2 sticks; 226g) unsalted butter
- 8 oz (226g) semi-sweet chocolate, chopped (bars, not chips)
- 1 ¾ cups (220g) all-purpose flour
- 1 tsp cornstarch
- 1 tsp baking soda
- 1 tsp fine sea salt
- 1 cup (200g) dark brown sugar, packed
- ½ cup (100g) granulated sugar
- 1 large whole egg + 1 large egg yolk, at room temp
- 2 tsp pure vanilla extract
- Flaky sea salt, for finishing
The Pro-Method (Step-by-Step)
Follow these steps in order. Patience is your friend here.
- Brown & Infuse: Melt butter in a light-colored saucepan over medium heat. Swirl constantly. It will foam, then clear. Watch for golden brown specks and a strong nutty aroma. Immediately pour over the chopped chocolate in a heatproof bowl. Stir until completely smooth and melted. Let cool for 20 minutes.
- Dry Mix: Whisk the flour, cornstarch, baking soda, and sea salt together. The cornstarch is our secret for a soft, thick center.
- Wet Mix: In a separate bowl, whisk both sugars with the cooled chocolate-butter mixture. It will look grainy. Add the whole egg, extra yolk, and vanilla. Whisk vigorously for 60 seconds until glossy and slightly thickened.
- Combine: Fold the dry ingredients into the wet with a spatula. Mix just until no flour streaks remain. The dough will be soft.
- Chill: Cover the bowl and chill for at least 1 hour, or up to 72. This is non-negotiable for flavor and texture.
- Bake: Preheat oven to 350°F (175°C). Scoop 3-tablespoon portions of dough onto parchment-lined sheets, 3 inches apart. Bake for 12-14 minutes, until edges are set but centers look soft.
- Finish: As soon as they come out, tap the pan on the counter. Then, sprinkle each cookie with a pinch of flaky sea salt. Let cool on the sheet for 10 minutes before moving.
Common Mistakes & How to Fix Them
Even pros run into issues. Here’s how to avoid them.
Problem: Cookies spread too thin. Fix: Your butter was too warm when you mixed the dough, or you skipped the chill. Make sure that infused butter mixture is just warm to the touch, not hot. Chill the dough.
Problem: The flavor tastes bitter, not nutty. Fix: You took the browned butter too far. It burns fast. The moment you see amber-brown specks and smell toasted nuts, take it off the heat.
Problem: Cookies are cakey, not chewy. Fix: You likely over-measured the flour. Use a kitchen scale. If you don’t have one, fluff your flour with a spoon before gently scooping it into your measuring cup.
Variations for the Adventurous Cook
Once you master the base, play with it. These are my favorite pro-level swaps.
Swap 1/4 cup of the brown sugar for maple sugar. It adds a warm, complex sweetness that loves the browned butter.
Use a mix of chocolates. Try 60% dark and a few chunks of milk chocolate. The different melt points create pockets of pure flavor.
Add 1/2 cup of toasted, chopped pecans or walnuts with the flour. Their toastiness mirrors the nutty flavor in the butter. For another recipe that masterfully combines nutty and chocolate flavors, check out these incredible peanut butter chocolate banana muffins.
Nutrition Notes
This is a treat, through and through. Enjoy it as one.
- Calories: ~280 per cookie
- Total Fat: 16g
- Saturated Fat: 10g
- Carbohydrates: 32g
- Sugar: 22g
- Protein: 3g
Your Pro-Level Questions Answered
These are the questions I get from bakers who want to know the “why.”
Can I brown the butter ahead of time?
Absolutely. Make the infused chocolate-brown butter mixture up to 3 days ahead. Keep it covered in the fridge. Let it come to room temperature before you mix it with the sugars.
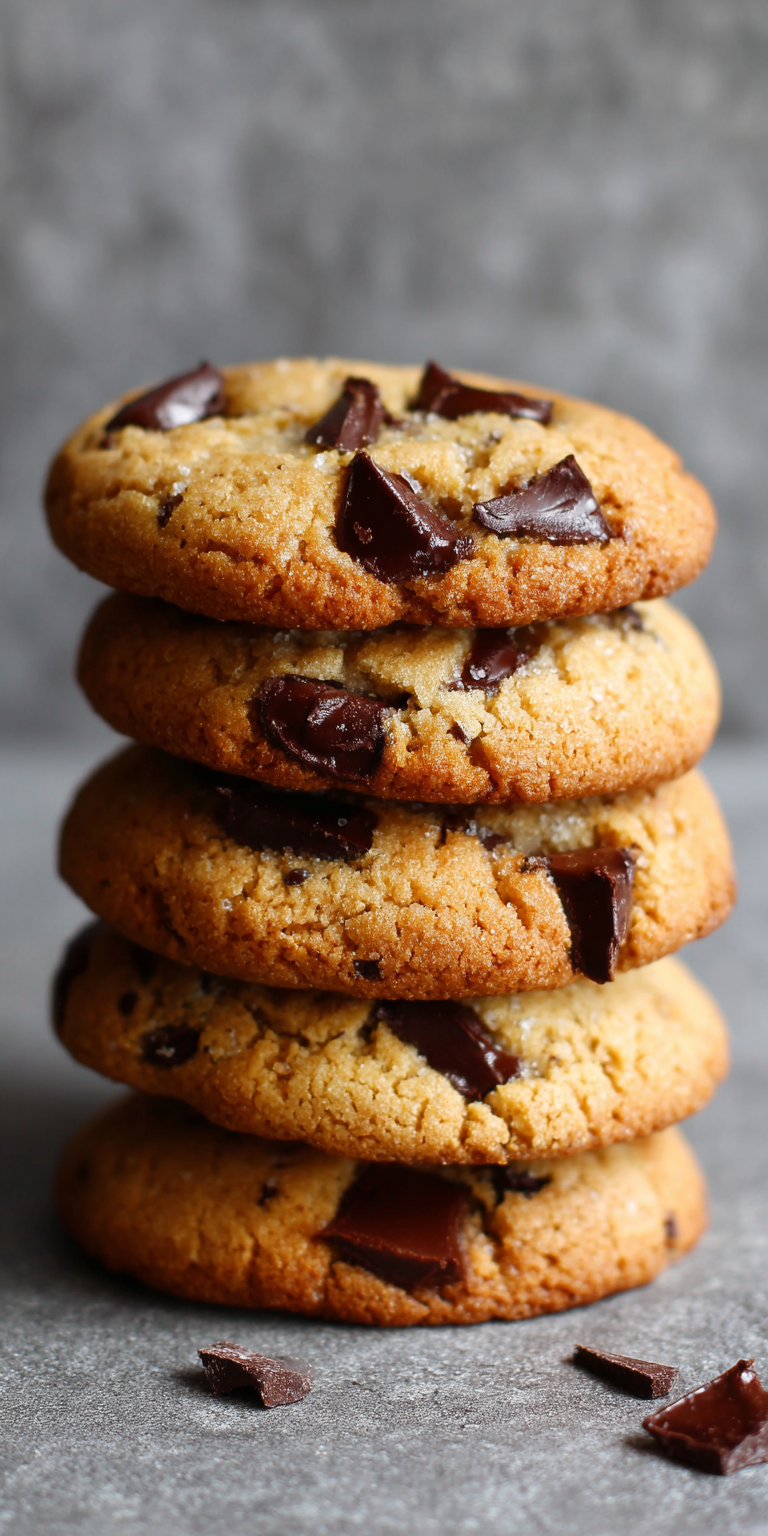
Why chop chocolate instead of using chips?
Chips are designed to hold their shape. Chopped bars melt, pool, and create those beautiful, irregular ribbons of chocolate. It’s a textural game-changer for a gourmet cookie.
Is the flaky salt really necessary?
Yes. It’s the final, critical layer. That tiny burst of salt brightens every other flavor and cuts the sweetness. Don’t skip it.
A Few Final Secrets
You now have the blueprint. But the real magic happens in your kitchen. Trust your senses. Smell the butter as it browns. Watch the dough change as you whisk.
These cookies are best the day they’re baked, but the dough actually improves with a long chill. If you can wait 24 hours, the flavor gets even deeper.
This recipe is my kitchen’s open secret. It turns a simple cookie into a moment. It’s the difference between good and unforgettable.
I’ve shared my secrets. Now I want to hear about your bake. Did that extra egg yolk make the difference? Did you try a variation? Tell me everything in the comments below and let me know how your batch turned out! And if you’re looking for another fantastic way to use up ripe bananas, you absolutely must try this detailed Peanut Butter Chocolate Banana Muffins recipe.

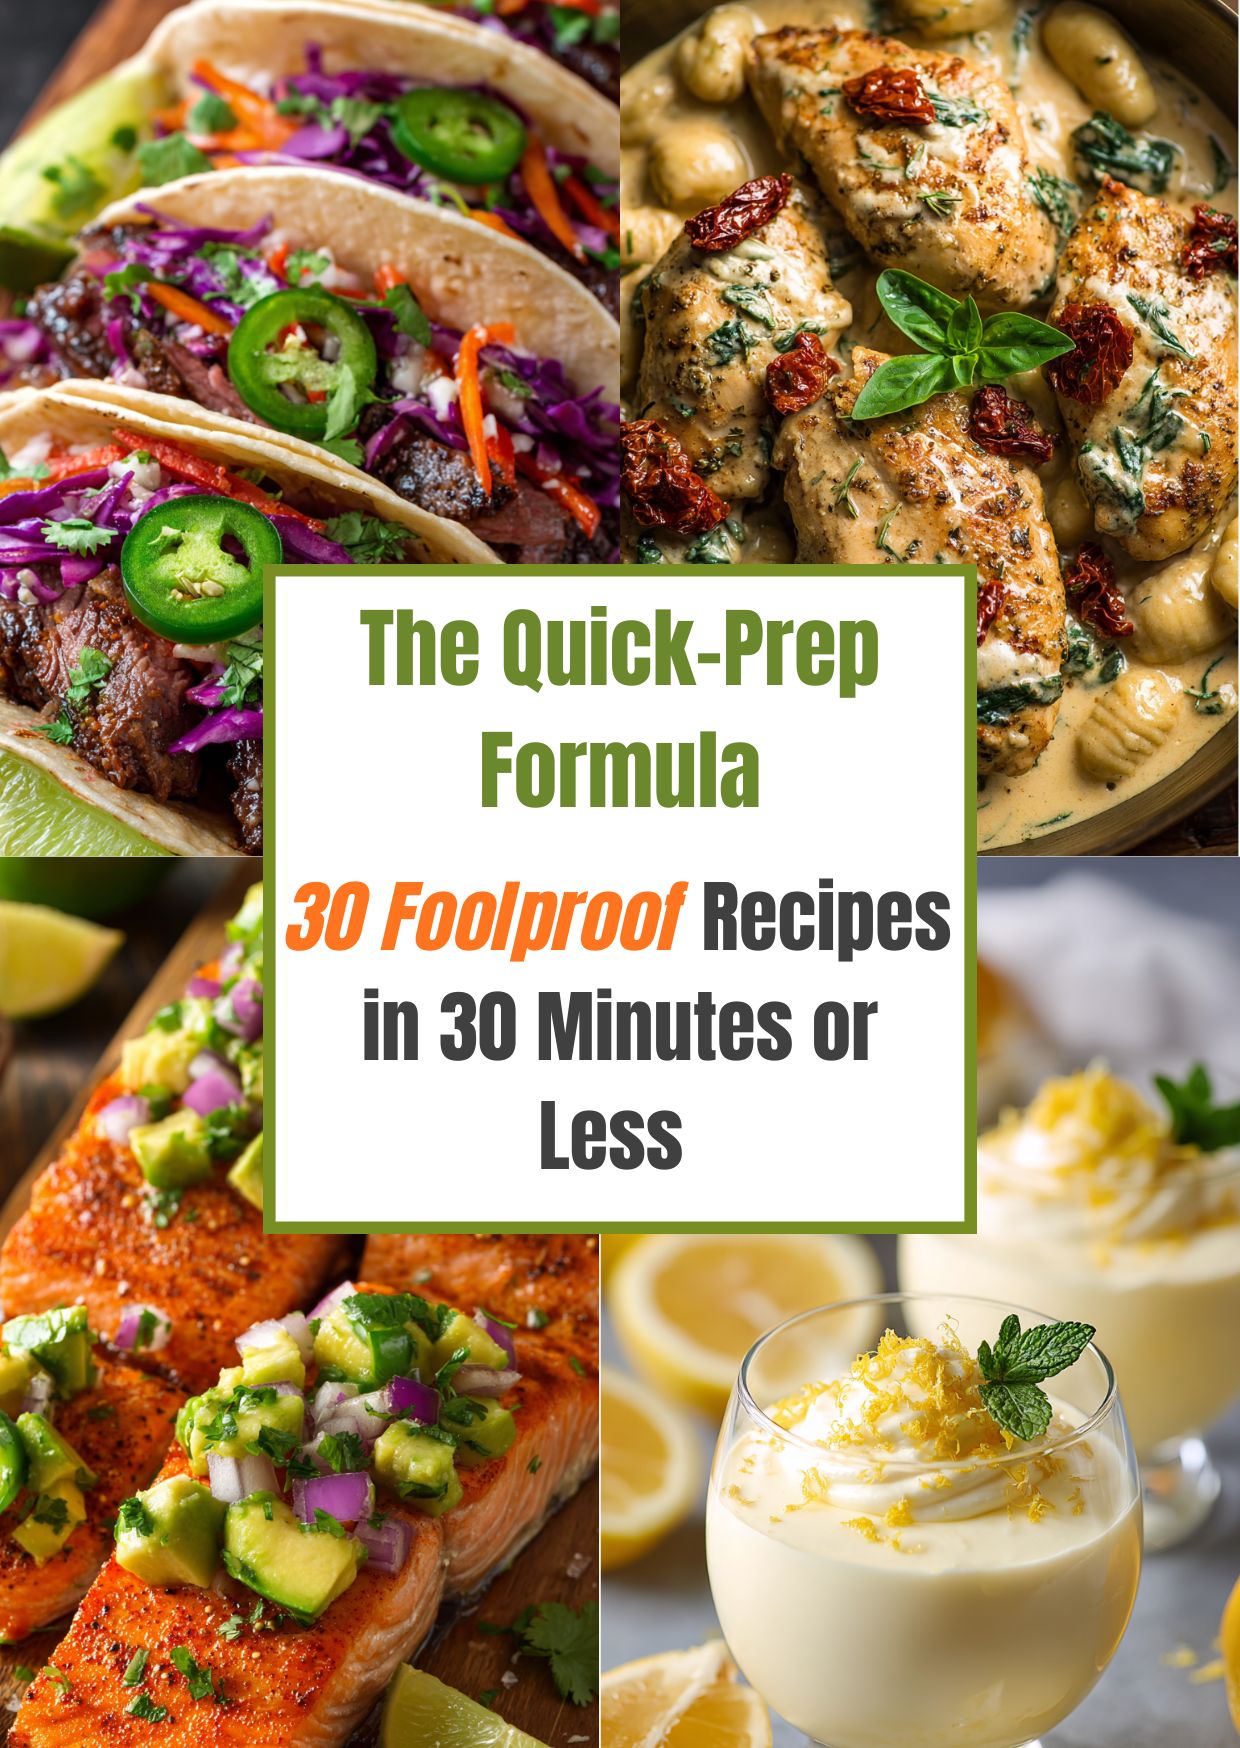 Tired of the 5 PM dinner panic? Grab my new 30-Minute Cookbook!