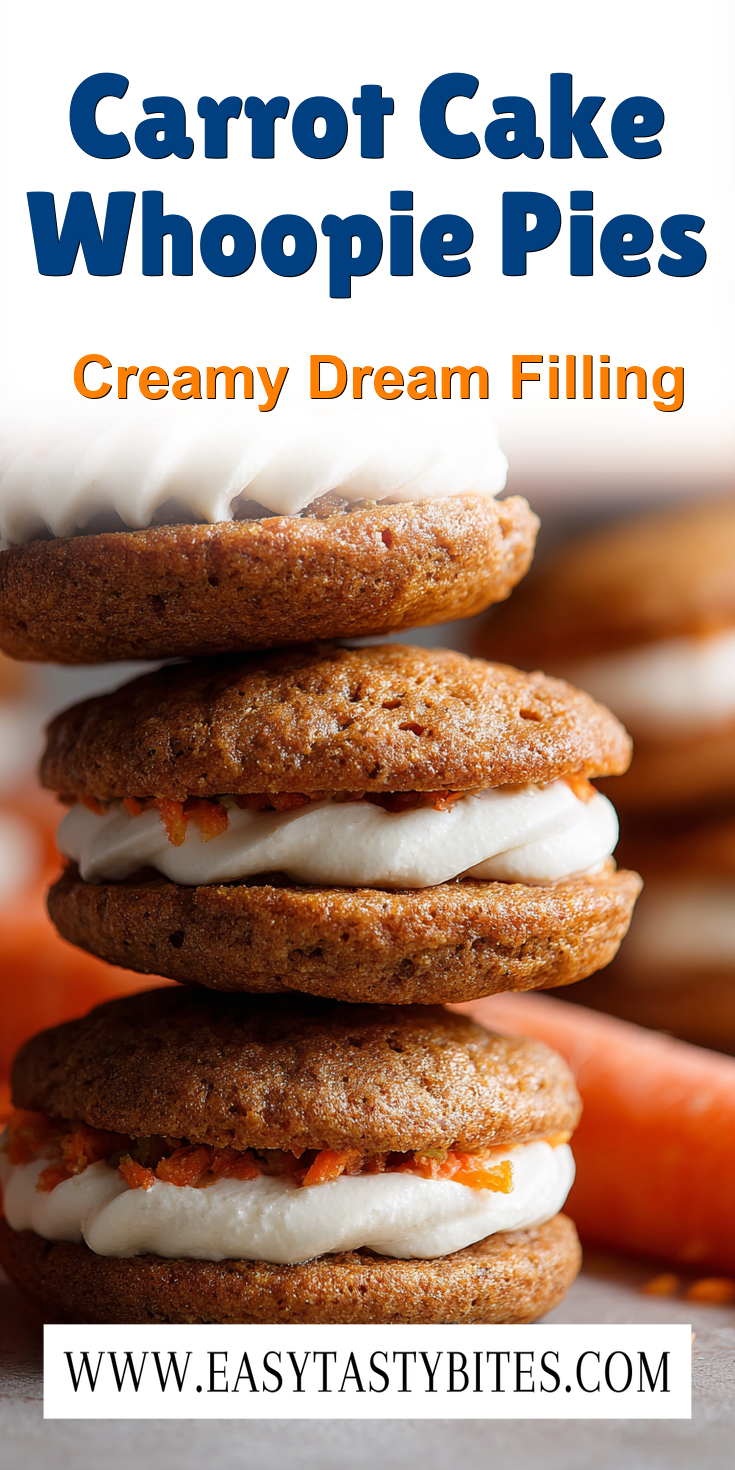
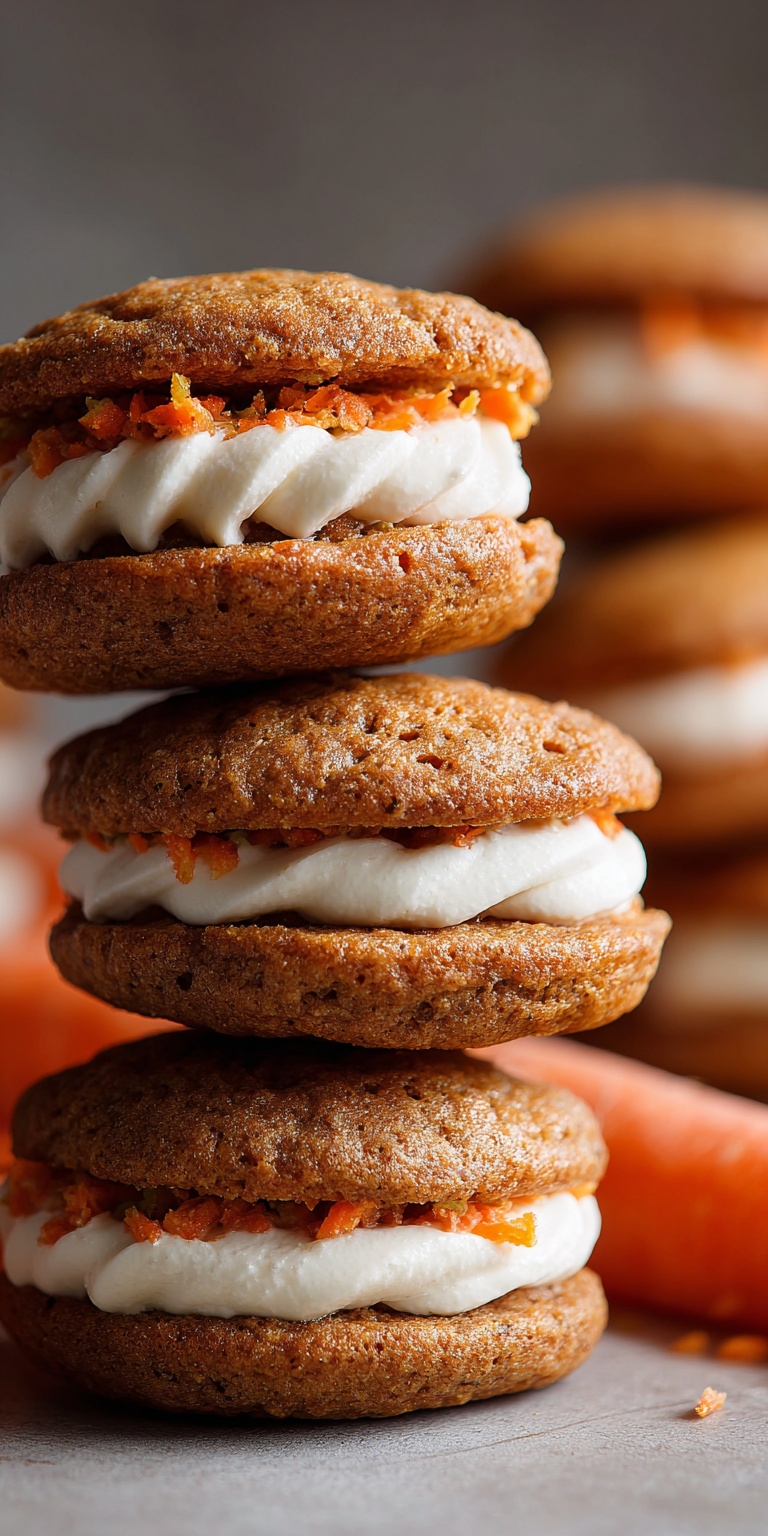
You’ve made carrot cake before. You’ve probably even made whoopie pies. But I’m willing to bet you’ve never made Carrot Cake Whoopie Pies like this. If you love the flavors of a classic oatmeal carrot cake, you’ll adore this handheld version.
There’s a single, quiet ingredient in the cookie that changes everything. It’s the difference between a good treat and a bakery-style masterpiece that stays impossibly soft.
Ready to find out what it is? Let me show you the secret I guard in my own kitchen.
Recipe Overview
- Cuisine: American
- Category: Dessert, Sandwich Cookies
- Prep Time: 25 minutes
- Cook Time: 12 minutes
- Total Time: 1 hour 15 minutes (includes cooling)
- Servings: 10-12 finished whoopie pies
The Secret Ingredient That Makes All the Difference
I’ve tested this recipe a dozen ways. The game-changer isn’t a spice or a fancy flour.
It’s crushed pineapple. Just two tablespoons, drained well. You won’t taste pineapple at all. What it does is keep the cookie’s crumb incredibly moist and tender for days.
The natural acids and sugars work magic. They boost the carrot’s sweetness and lock in that soft, cakey texture we all want. Forget dry cookies. This is the pro’s trick.
Why This Method is Better (My Pro-Tips)
Most recipes have you cream butter and sugar for the cookies. We’re not doing that here.
We use oil. This gives a more consistent, velvety crumb that mimics true carrot cake. I also grate my carrots on the fine side of the box grater.
This lets them blend into the batter seamlessly. You get their flavor without any stringy bits. It’s a small step with a big payoff.
Carrot Cake Whoopie Pies Recipe
The “Upgraded” Ingredient List
The Pro-Method (Step-by-Step)
Notes
Enjoy your homemade Carrot Cake Whoopie Pies Recipe!
Nutrition Information
The “Upgraded” Ingredient List
For the Soft Cookies:
- 1 1/2 cups all-purpose flour
- 1 tsp baking soda
- 1/2 tsp fine sea salt
- 1 1/2 tsp ground cinnamon
- 1/4 tsp ground nutmeg
- 1/4 tsp ground ginger
- 1 large egg, at room temperature
- 3/4 cup packed light brown sugar
- 1/3 cup neutral oil (like avocado or canola)
- 1 tsp pure vanilla extract
- 1 cup finely grated carrots (from about 2 medium)
- 2 tbsp well-drained crushed pineapple
- 1/3 cup crushed walnuts or pecans (optional)
For the Marshmallow Filling:
- 4 oz (1/2 cup) unsalted butter, softened
- 4 oz (1/2 cup) vegetable shortening
- 1 3/4 cups powdered sugar, sifted
- 2 tsp pure vanilla extract
- Pinch of salt
- 1 (7 oz) jar marshmallow fluff
The Pro-Method (Step-by-Step)
- Heat your oven to 350°F (175°C). Line two baking sheets with parchment paper.
- In a medium bowl, whisk the flour, baking soda, salt, cinnamon, nutmeg, and ginger. Set this aside.
- In a large bowl, whisk the egg, brown sugar, oil, and vanilla until completely smooth and slightly thickened.
- Stir in the grated carrots, drained pineapple, and nuts (if using) until evenly mixed.
- Gently fold the dry ingredients into the wet mix. Stop as soon as no flour streaks remain. Do not overmix.
- Using a medium cookie scoop (about 1.5 tbsp), portion dough onto sheets, spacing them 2 inches apart. They will spread.
- Bake for 10-12 minutes, until the tops look set and spring back lightly when touched. Let cool on the sheet for 5 minutes, then move to a rack to cool completely.
- Make the filling: Beat the butter and shortening together until light and fluffy, about 3 minutes.
- Beat in the powdered sugar, vanilla, and salt on low speed until combined, then beat on high for 1 minute.
- Add the marshmallow fluff and beat on medium just until uniform. Over-beating can make it runny.
- Match cookie pairs by size. Pipe or spread a generous amount of filling onto the flat side of one cookie. Top with its partner and press gently.
Common Mistakes & How to Fix Them
Problem: The cookies spread too much and run into each other.
Fix: Your dough is too warm. After scooping, pop the baking sheet in the freezer for 10 minutes before baking. This sets the fat and controls the spread.
Problem: The marshmallow filling is soupy and won’t hold.
Fix: You likely over-beat it after adding the fluff, or your butter was too soft. Make sure all filling ingredients are cool. If it’s runny, chill the whole bowl for 20 minutes, then re-whip.
Variations for the Adventurous Cook
Once you master the base, play with it. Swap the walnuts for toasted coconut for a tropical twist.
Add 1/4 cup of diced dried apricots to the dough for a chewy, bright note. For the filling, fold in 2 tablespoons of cream cheese powder.
It gives a subtle tang that cuts the sweetness perfectly. These are the swaps that make a recipe truly yours. If you enjoy fun, handheld treats, you might also love our Easy Starbucks Cake Pops.
Nutrition Notes
- This is a celebratory dessert. Enjoy it as such.
- Each whoopie pie (with filling) is roughly an indulgence.
- Using oil instead of butter cuts some saturated fat.
- The carrots and pineapple add a touch of vitamin A and fiber.
- For a lighter option, you can reduce the sugar in the cookie by 2 tablespoons.
Your Pro-Level Questions Answered
Can I make these ahead of time?
Absolutely. The unfilled cookies freeze beautifully for up to a month. The filling can be made 3 days ahead and kept chilled. Let it come to a spreadable temperature before using. Assemble the day you plan to serve them for the best texture.
Why shortening in the filling? Isn’t butter better?
For structure, shortening is key. All-butter fillings can get too soft at room temperature. The shortening blend keeps its shape, giving you that classic, fluffy whoopie pie feel. It’s the bakery-style standard for a reason.
My cookies are cakey but dense. What happened?
You over-mixed the batter after adding the flour. Gluten development is the enemy of tender cookies. Fold just until combined, even if you see a streak or two of flour. It will hydrate as it rests.
A Few Final Secrets
Let the filled whoopie pies sit, covered, for at least an hour before serving. This lets the cookie soften slightly from the filling.
It transforms them from separate parts into one perfect bite. Store them in a single layer. Stacking them will smush your beautiful work.
Now that you have the secret, go try it! I want to hear all about it. Did the pineapple change the game for you? What variations did you love? Let me know in the comments below and give this recipe a rating! And if you’re looking for another fun baking project, why not try these simple Starbucks cake pops?