Is there anything more frustrating than a kid who won’t eat? I’ve been there, standing in the kitchen after a long day, facing down a plate of lovingly prepared food that’s about to be met with a firm “yuck.” It can make you want to pull your hair out.
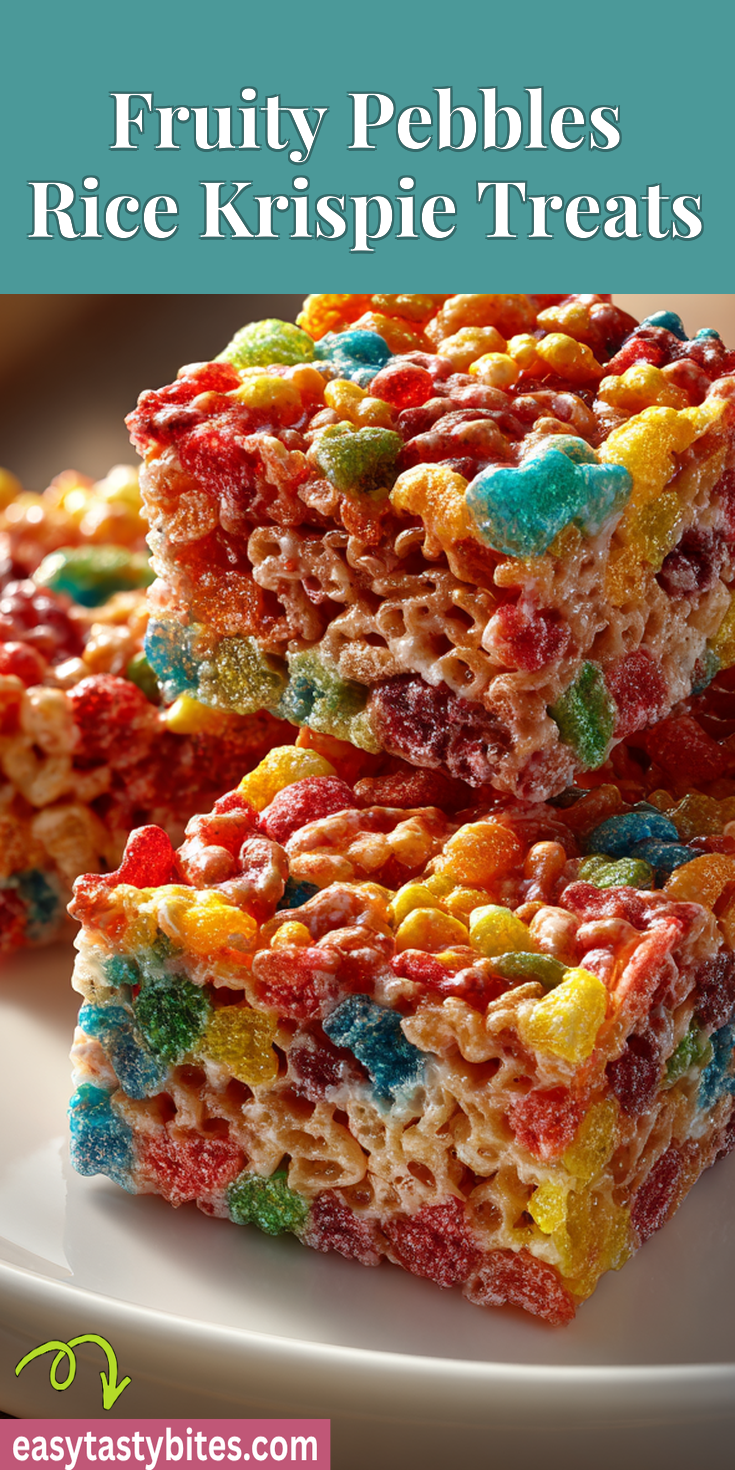
That’s why I’m a huge fan of the sneaky win. The recipe that feels like a fun treat but gets everyone to the table without a fight. Today, I’m sharing our family’s absolute favorite: Fruity Pebbles Rice Krispie Treats. It’s the ultimate kitchen hack for a happy afternoon. If you’re looking for another no-bake treat that’s a guaranteed crowd-pleaser, you have to try this easy Crumbl Cookies copycat recipe.
This isn’t just a dessert. In our house, it’s a peace treaty. It’s a guaranteed smile. And the best part? It takes minutes to make with ingredients you probably already have. Let’s make snack time magic.
Recipe Overview
- Cuisine: American
- Category: Dessert / Snack
- Prep Time: 10 minutes
- Cook Time: 5 minutes
- Total Time: 15 minutes (plus setting time)
- Servings: 12-16 squares
Why Even My Picky Eaters Love This!
I have one kid who only eats white foods and another who thinks anything “mixed” is suspicious. This recipe is our secret weapon for a few big reasons.
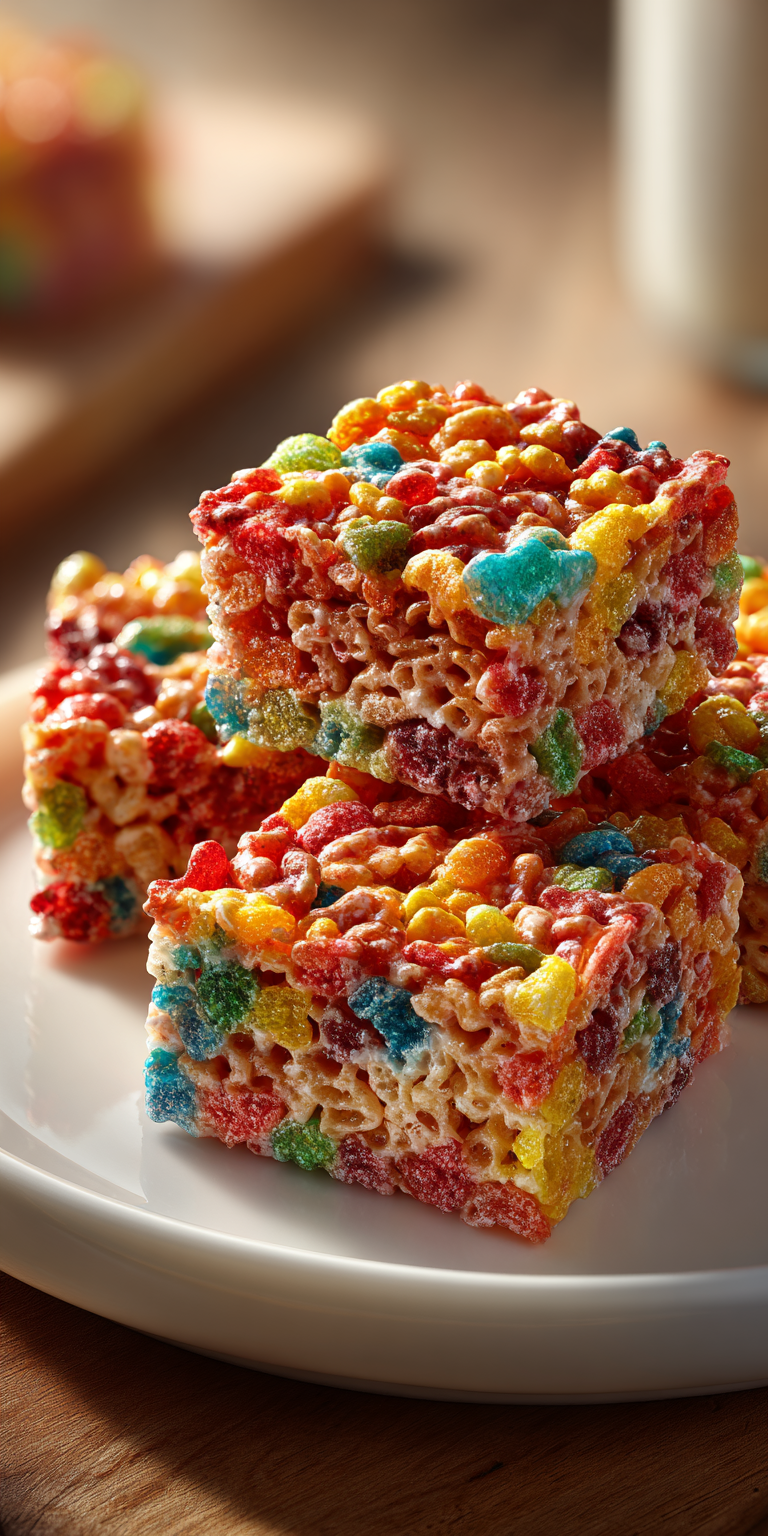
First, it’s visually irresistible. The rainbow colors of the cereal are an instant kid-magnet. Second, the texture is perfect—chewy, soft, and never a scary surprise. And third, it’s sweet without being overwhelming. It feels like you’re giving them a huge treat, but you know exactly what’s in it.
Our Family-Friendly Ingredient List
No fancy grocery trips needed! This is all about pantry staples. I bet you have most of this right now.
- 6 cups Fruity Pebbles cereal
- 4 cups mini marshmallows
- 3 tablespoons unsalted butter
- 1/8 teaspoon fine salt (trust me, it makes the flavor pop!)
- Optional: Cooking spray or extra butter for the pan
How to Get the Kids Involved in Cooking This
Getting little hands involved is my top trick for making them excited to eat the final product. This recipe is perfect for that.
For younger kids, their job can be measuring and pouring the cereal. It’s a great counting lesson! For older kids, they can be in charge of stirring the marshmallow mixture (with close supervision, as it gets hot). Giving them ownership makes them so proud. For a savory dish that’s just as quick and gets them excited about dinner, this high-protein garlic chicken fried rice is another fantastic option.
The Full Step-by-Step Instructions
Don’t let the marshmallows intimidate you. This process is wonderfully simple and fast. Just have everything measured and ready before you start.
Fruity Pebbles Rice Krispie Treats Recipe
Our Family-Friendly Ingredient List
The Full Step-by-Step Instructions
Notes
Enjoy your homemade Fruity Pebbles Rice Krispie Treats Recipe!
Nutrition Information
- Prepare a 9×13 inch baking dish by lightly greasing it with butter or cooking spray. Set it aside.
- In a large pot, melt the butter over low heat. You want it melted but not bubbling or browning.
- Add all the mini marshmallows and the salt to the melted butter. Keep the heat on low and stir almost constantly until the marshmallows are completely melted and smooth. This should take 3-5 minutes.
- As soon as the marshmallow mixture is smooth, immediately remove the pot from the heat.
- Quickly pour in all 6 cups of Fruity Pebbles cereal. Gently stir and fold until every single piece of cereal is coated in the marshmallow mixture. Be gentle to avoid crushing the cereal.
- Transfer the mixture to your prepared pan. Use a piece of parchment paper or buttered hands to press it into an even layer. Don’t press too hard—just enough to make it flat.
- Let the treats sit at room temperature for at least 1-2 hours to set completely before cutting into squares.
Fun Twists for Different Tastes
Once you’ve mastered the basic recipe, it’s fun to mix things up! Here are a few ways we change it for different moods.
For a chocolate twist, swap out 2 cups of the Fruity Pebbles for Cocoa Pebbles. You get a fun chocolate-berry flavor. For a birthday party, sprinkle the top with extra rainbow sprinkles while the treats are still sticky. If you have a super-sensitive texture kid, you can press the mixture less firmly for a lighter, airier treat.
Storing & Reheating (Perfect for Busy Nights)
These treats are the best make-ahead snack. They save the day on busy afternoons.
Once cut, store them in an airtight container at room temperature. They stay perfectly soft and chewy for 2-3 days. I do not recommend putting them in the fridge, as it can make them hard. They also freeze beautifully! Layer them between parchment paper in a freezer bag for up to a month. Thaw at room temperature.
Nutrition Notes
Let’s be real—this is a treat. I make these for fun, not for everyday fuel. But it’s still good to know what’s in your food.
- This is a nut-free recipe, making it great for most school events.
- Using unsalted butter helps you control the sodium.
- For a slightly lower-sugar option, you can use a 50/50 mix of Fruity Pebbles and plain Rice Krispies.
FREQUENTLY ASKED QUESTIONS
My marshmallow mixture got hard and chunky. What did I do wrong?
This usually means the heat was too high. Marshmallows need low, gentle heat to melt smoothly. If they start to bubble or boil, they can seize up. Next time, keep the flame on the lowest setting and be patient—slow and steady wins the race here.
Can I use regular marshmallows instead of mini ones?
Absolutely! You’ll need about 40 regular-sized marshmallows. Just give them a rough chop with buttered scissors to help them melt faster and more evenly. The mini ones are just a bit more convenient.
How do I get perfectly clean cuts without the treats sticking to my knife?
This is a great question! Lightly butter the blade of your knife before each cut. It glides right through without tearing or sticking. A plastic knife works surprisingly well for this, too.
There you have it! Our go-to recipe for turning a tough day around. It’s simple, it’s joyful, and it has never, ever failed me. In the chaos of parenting, these little wins matter so much. And if you’re planning a spooky party, you can take the Rice Krispie treat concept to the next level with these fun Halloween Rice Krispies brains.
I’d love to know if this was a hit with your family! Did your picky eater ask for seconds? Please leave a comment and rating below!