You’ve made keto chocolate bark before. I know you have.

It’s simple. Melt chocolate, add nuts, freeze. But the result is often just… fine. A little flat. A little one-note.
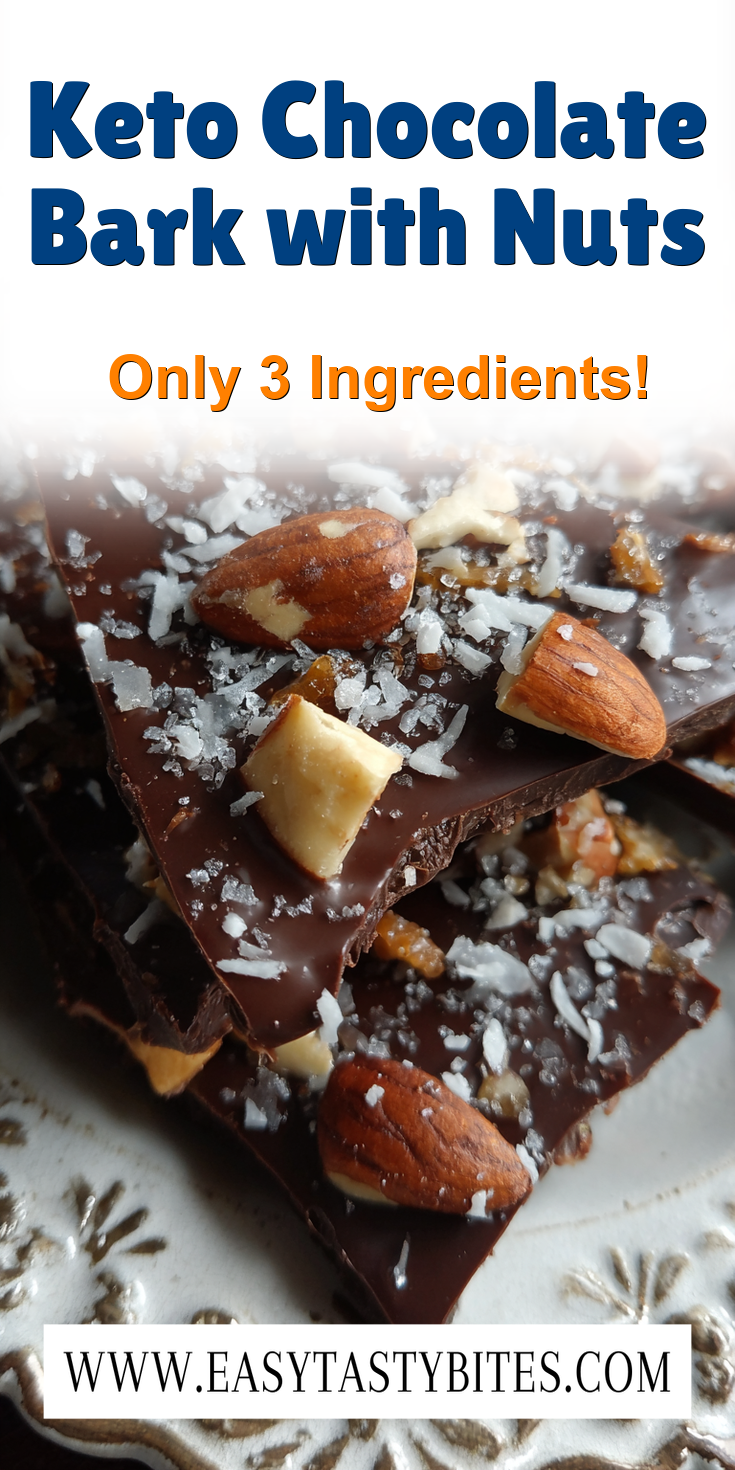
This Keto Chocolate Bark with Nuts has one secret ingredient that changes everything. It’s the difference between a good snack and a freezer candy you crave. Ready to find out what it is? If you’re looking for more keto-friendly treats, our recipe for fluffy keto rolls is a fantastic savory option.
Recipe Overview
Let’s get the basics out of the way. This is your blueprint.
- Cuisine: Ketogenic
- Category: Dessert / Snack
- Prep Time: 10 minutes
- Cook Time: 5 minutes
- Total Time: 1 hour 15 minutes (includes setting)
- Servings: 12 pieces
The Secret Ingredient That Makes All the Difference
Here it is. The game-changer.
It’s a tiny splash of pure vanilla extract. Not the artificial stuff. The real deal.
You might think vanilla just adds flavor. In a chocolate bar, it does so much more. It rounds out the bitterness of dark chocolate. It boosts the nutty, roasted notes. It adds a warm, complex background that makes each bite sing. Without it, your bark tastes incomplete. With it, it tastes professional.
Why This Method is Better (My Pro-Tips)
I don’t just throw things in a bowl. This method builds layers of flavor and texture.
First, we toast the nuts. This is non-negotiable. Toasting wakes up the oils and makes them incredibly fragrant. Second, we temper the chocolate gently. We’re not just blasting it in the microwave. We melt it slowly to keep it smooth and glossy. This prevents that dull, chalky finish.
Keto Chocolate Bark with Nuts Recipe

The “Upgraded” Ingredient List
The Pro-Method (Step-by-Step)
Notes
Enjoy your homemade Keto Chocolate Bark with Nuts Recipe!
Nutrition Information
The “Upgraded” Ingredient List
Quality in, quality out. Here’s what you need for pro-level results.
- 8 oz (about 225g) sugar-free dark chocolate (look for 90% cacao or a dedicated keto brand)
- 1/2 cup mixed raw nuts (I use almonds and pecans)
- 1 tbsp unsweetened coconut flakes
- 1/2 tsp pure vanilla extract
- 1/4 tsp flaky sea salt (like Maldon)
- 1 tsp coconut oil (this is our texture secret weapon)
The Pro-Method (Step-by-Step)
Follow these steps exactly. This is where the magic happens.
- Line a small baking sheet with parchment paper. Set it aside.
- Chop your chocolate bar into small, even pieces. This helps it melt uniformly.
- In a dry skillet over medium heat, toast your raw nuts. Stir them for 3-4 minutes until they smell amazing and are lightly golden. Let them cool, then give them a rough chop.
- Create a double boiler. Place a heatproof bowl over a pot of simmering water (make sure the bowl doesn’t touch the water). Add the chocolate pieces and the coconut oil.
- Stir gently and constantly as the chocolate melts. Once it’s almost fully liquid, remove the bowl from the heat. The residual heat will melt the last bits. This prevents burning.
- Stir in the pure vanilla extract. Watch how the aroma blooms.
- Pour the melted chocolate onto your prepared parchment. Use a spatula to spread it into a thin, even layer.
- Immediately sprinkle the toasted nuts and coconut flakes over the wet chocolate. Press them in lightly.
- Finish with a delicate sprinkle of flaky sea salt.
- Carefully transfer the tray to your freezer. Let it set completely for at least 1 hour.
- Once rock solid, break it into rustic pieces. Store in an airtight container in the freezer.
Common Mistakes & How to Fix Them
Even pros make mistakes. Here’s how to avoid the big ones.
Grainy Chocolate: This happens if water or steam gets into your melting chocolate. Make sure all your tools are completely dry. Even a drop of water can seize the chocolate.
Nuts That Fall Off: You sprinkled them on too late. The chocolate surface must still be wet and shiny. If it’s started to set, the toppings won’t stick. Work quickly after pouring.
Chewy, Not Snappy Bark: This means your chocolate wasn’t set cold enough or long enough. The freezer is your friend. Don’t rush it. A full hour is the minimum.
Variations for the Adventurous Cook
Mastered the base recipe? Let’s play. Try these pro swaps.
Swap the nuts for roasted, salted pepitas (pumpkin seeds). They add a fantastic crunch and a savory edge.
Add a pinch of cayenne pepper to the melted chocolate. It creates a subtle, warm heat that pairs beautifully with the sweet and salty notes.
After sprinkling the sea salt, add a very light dusting of instant espresso powder. It will deepen the chocolate flavor in a way you have to taste to believe. For another delicious way to use bananas and chocolate, try our peanut butter chocolate banana muffins.
Nutrition Notes
This is why it fits your keto lifestyle. Per serving (approx. 1 piece):
- Calories: ~120
- Fat: 11g
- Net Carbs: 2g
- Protein: 3g
- Fiber: 3g
Your Pro-Level Questions Answered
You asked, I’m answering. These are the advanced questions.
Can I use a microwave to melt the chocolate?
You can, but I don’t recommend it for control. Microwaves heat unevenly and can easily scorch chocolate. If you must, use 30-second bursts at 50% power, stirring well between each.
My bark developed a white film. Is it safe to eat?
Yes, completely safe! That’s called “bloom.” It’s just the cocoa fat separating and recrystallizing. It happens with temperature changes. The flavor is the same, but the texture might be slightly less perfect. Proper tempering and storage in the freezer prevent this.
How long will this really keep in the freezer?
For peak texture and flavor, eat it within 2 weeks. It will be safe for months, but the nuts can lose their crispness and pick up other freezer smells over time. Make it fresh—it’s so easy.
A Few Final Secrets
Before you go, here’s my last bit of insider knowledge.
The type of sea salt matters. A fine grain salt will just make it taste salty. A flaky salt, like Maldon, gives you little bursts of salinity that contrast with the sweet chocolate. It’s a texture and taste miracle.
Always break your bark by hand. Don’t cut it. The jagged, uneven pieces have more character and a better mouthfeel. They look homemade in the best way possible.
Now that you have the secret, go try it! I want to hear from you. Did the vanilla extract change the game for you? What variation did you create? Let me know your results and rate this recipe in the comments below! And if you love the combination of fruit and chocolate, don’t miss our seasonal pumpkin banana muffins with strawberry & dark chocolate.

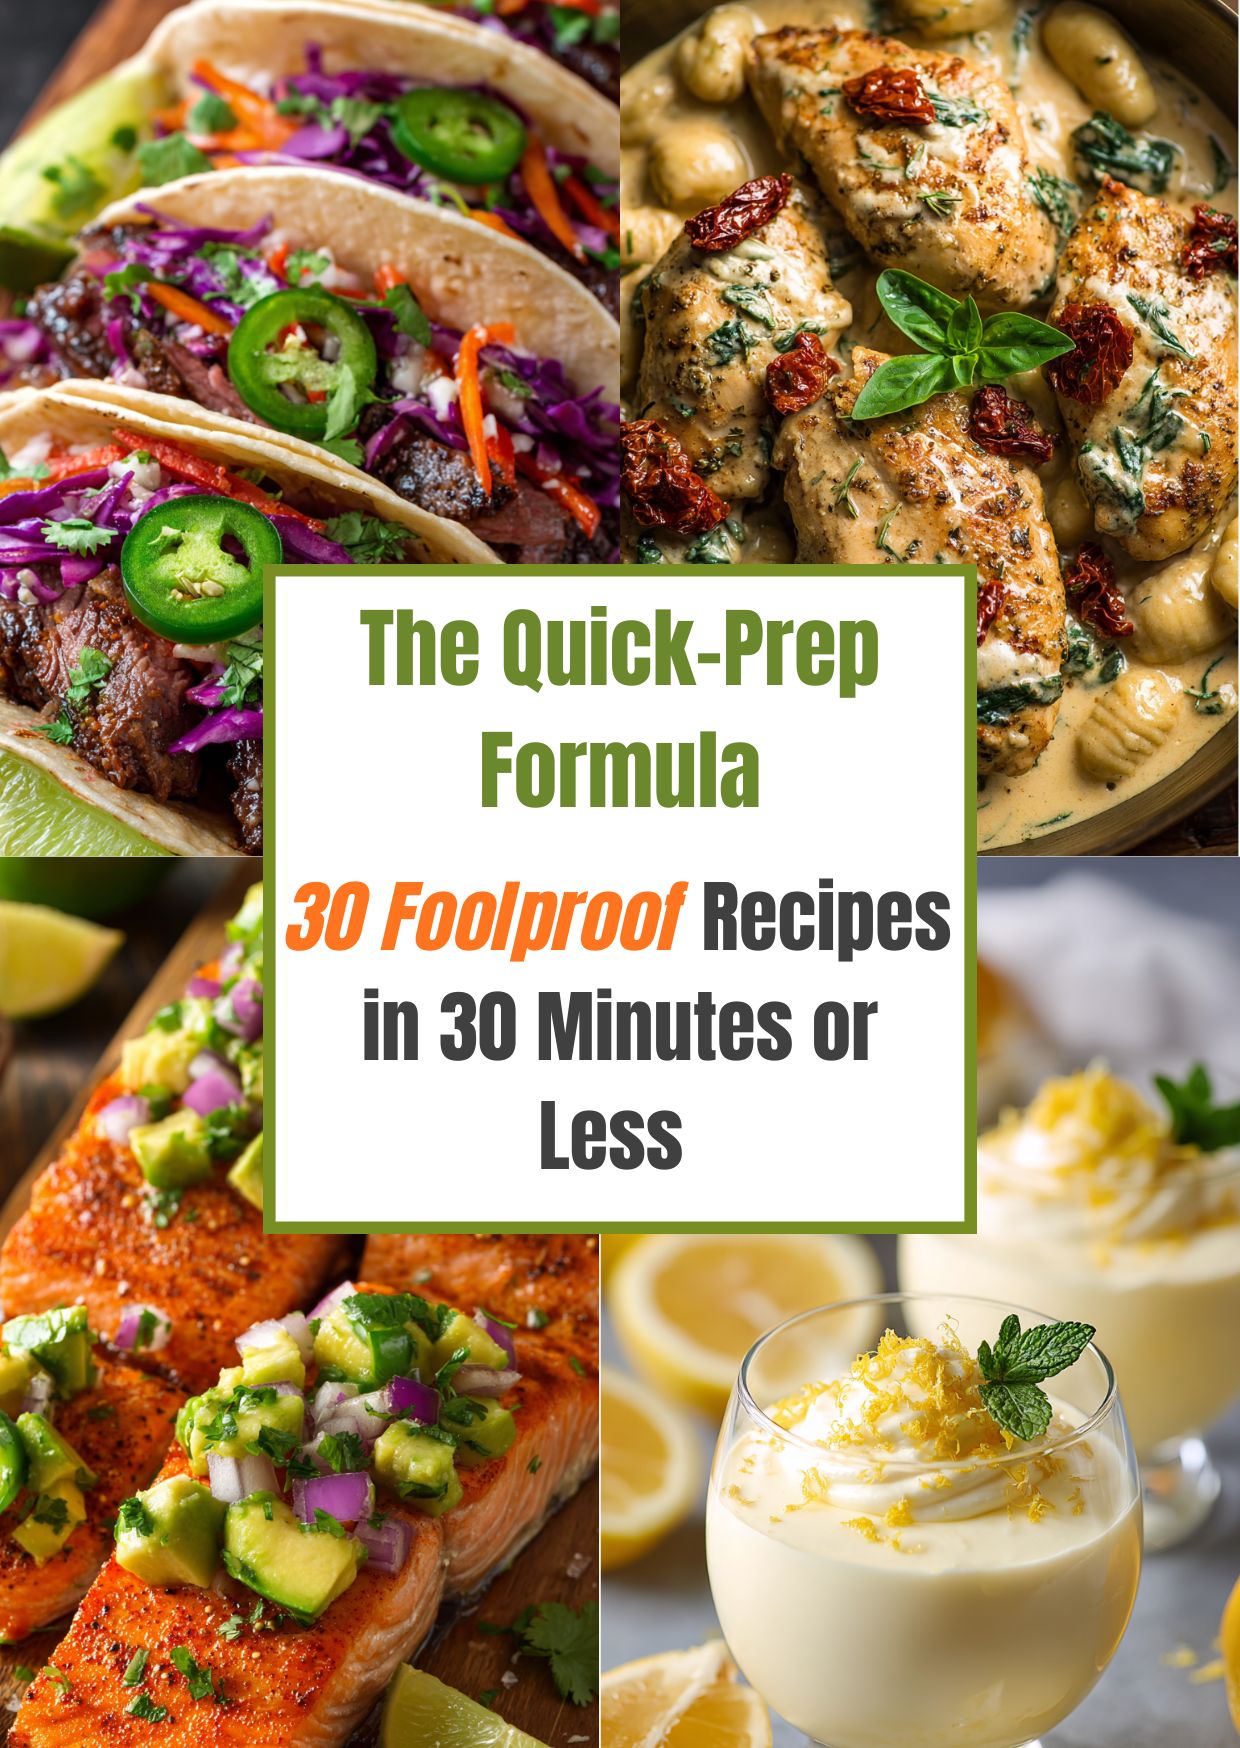 Tired of the 5 PM dinner panic? Grab my new 30-Minute Cookbook!