You’ve made no-bake peanut butter balls before. We all have.
But I bet they were just okay. A bit crumbly, maybe too sweet, or they fell apart in your gym bag.
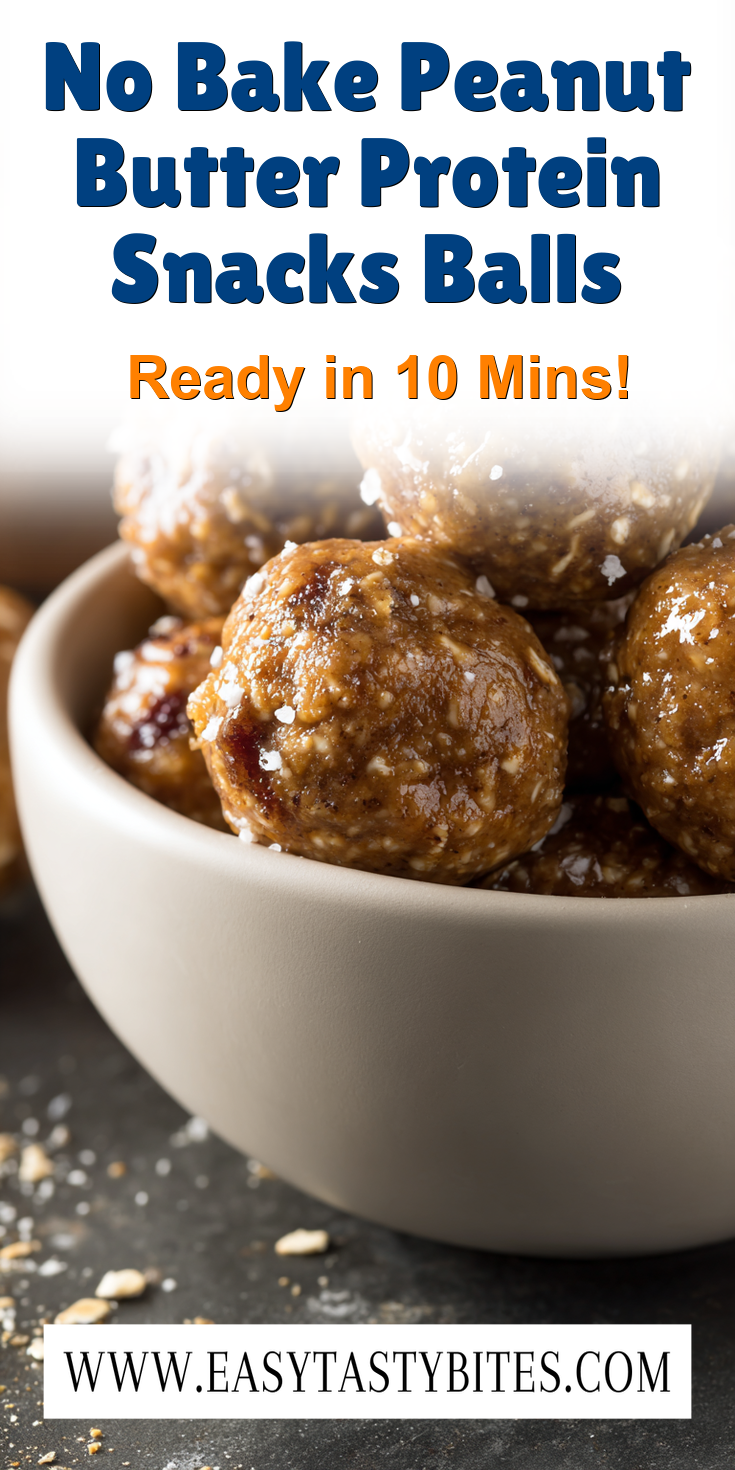
That ends today. This No Bake Peanut Butter Protein Snacks Balls recipe has one secret ingredient that changes everything. It’s the difference between a good snack and a great one. Ready to find out what it is? If you love no-bake treats, you should also try our Chunky Monkey Banana Bites for another delicious, energy-packed option.
I’ve been tweaking this formula for years. What I’m sharing isn’t just a recipe. It’s my method. Let’s get into it.
Recipe Overview
Here’s the quick look at what we’re making. Simple on the surface, perfect underneath.
- Cuisine: American
- Category: Snack
- Prep Time: 15 minutes
- Cook Time: 0 minutes
- Total Time: 15 minutes (+ chilling)
- Servings: 18-20 balls
The Secret Ingredient That Makes All the Difference
Here it is. The game-changer. It’s not fancy, but it’s everything.
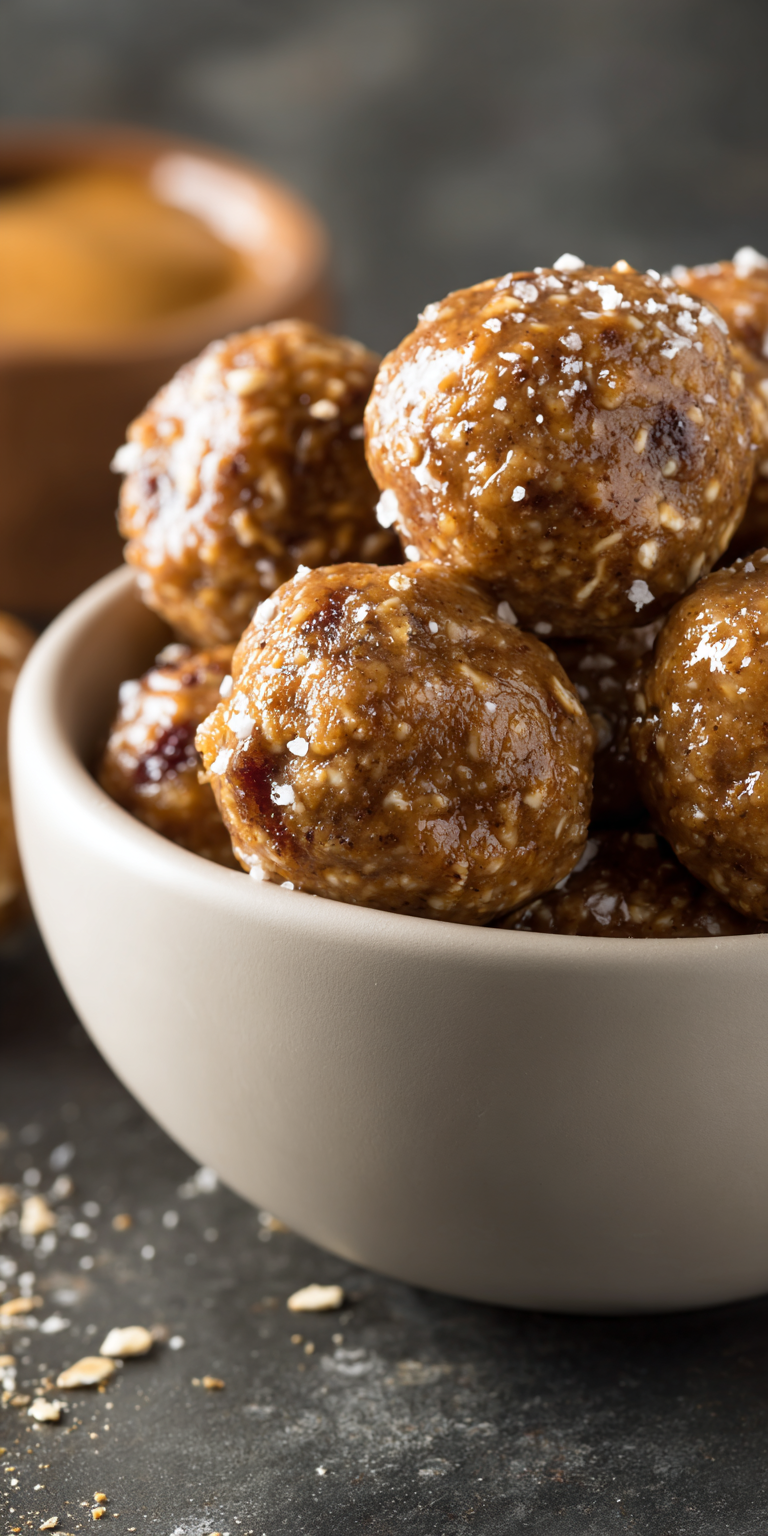
The secret is a pinch of fine sea salt added at the very end of mixing. Not mixed in with the dry stuff. You add it last, after everything is combined.
Why? It brightens every single flavor. The peanut butter becomes richer. The sweetness feels more complex. It makes the protein powder taste less chalky. That tiny pinch doesn’t make them taste salty. It makes them taste more.
Why This Method is Better (My Pro-Tips)
Most recipes just say “mix and roll.” That’s where they go wrong. My method builds flavor and texture.
No Bake Peanut Butter Protein Snacks Balls Recipe

The “Upgraded” Ingredient List
The Pro-Method (Step-by-Step)
Notes
Enjoy your homemade No Bake Peanut Butter Protein Snacks Balls Recipe!
Nutrition Information
First, you toast your rolled oats. Just a few minutes in a dry pan until they smell nutty. This gives a deeper, warmer base flavor. It also helps them absorb moisture better, so your balls hold their shape.
Second, you mix the wet ingredients alone first. This ensures the peanut butter, syrup, and vanilla become one smooth, emulsified base. Then, you add the dry. This prevents over-mixing and a tough, dense final product.
The “Upgraded” Ingredient List
Quality matters here. These are the building blocks for your best energy bites yet.
- 1 cup creamy, natural peanut butter (just peanuts & salt)
- 1/3 cup + 1 tbsp pure maple syrup or honey
- 1 tsp pure vanilla extract
- 1 1/4 cups old-fashioned rolled oats, lightly toasted
- 1/2 cup vanilla or chocolate protein powder (whey or plant-based)
- 1/4 cup ground flaxseed
- 2-3 tbsp mini chocolate chips or cacao nibs
- That crucial pinch of fine sea salt
The Pro-Method (Step-by-Step)
Follow these steps in order. This is where the magic happens.
- Toast your oats. Spread them in a dry skillet over medium heat. Stir for 3-4 minutes until fragrant. Let them cool for 5 minutes.
- In a large bowl, combine the peanut butter, maple syrup, and vanilla. Stir with a strong spatula until it’s completely smooth and glossy.
- Add the cooled toasted oats, protein powder, and ground flax to the wet mix. Fold until just combined. A few dry spots are okay.
- Now, fold in the chocolate chips. Finally, sprinkle that pinch of salt over the whole mixture. Fold 2-3 more times to distribute the salt evenly.
- Chill the mixture in the bowl for 20 minutes. This is non-negotiable. It firms up the fats and makes rolling clean and easy.
- Use a tablespoon or small cookie scoop to portion the dough. Roll into tight, smooth balls between your palms. If the dough sticks, dampen your hands slightly.
- Place the balls on a parchment-lined tray. Chill for at least 1 hour to fully set. Then, transfer to an airtight container. They keep in the fridge for 2 weeks.
Common Mistakes & How to Fix Them
Even pros hit snags. Here’s how to solve the advanced problems.
Problem 1: The mixture is too wet and sticky. You used the wrong peanut butter. “No-stir” or conventional brands have added oils and sugars. Fix it by adding more protein powder, one tablespoon at a time, until the dough is manageable. Let it chill longer.
Problem 2: The balls are dry and crumbly. You over-measured the dry ingredients or used a thick protein powder. Fix it by adding a teaspoon of milk (any kind) or more peanut butter. Mix until it just comes together.
Problem 3: They taste bland or “protein-y”. You skipped the salt or used flavorless protein powder. Fix it next time with my secret salt trick. For now, roll the finished balls in cinnamon or cocoa powder for an instant flavor boost. For a different kind of frozen, protein-rich snack, check out our High-Protein Peanut Butter Yogurt Bites.
Variations for the Adventurous Cook
Mastered the base? Let’s play. These are my favorite pro-level swaps.
Swap peanut butter for almond or cashew butter. Use toasted quinoa or puffed rice instead of half the oats for a different crunch. Add a tablespoon of instant espresso powder to the wet mix for a mocha kick. For a “cookie dough” vibe, use brown rice protein and fold in chopped, dried cherries.
Nutrition Notes
These are fuel, not just sweet treats. Here’s the approximate breakdown per ball (based on 20).
- Calories: ~140
- Protein: 6g
- Carbs: 12g
- Fiber: 2g
- Healthy Fats: 8g
- Sugar: 6g (varies with syrup choice)
Your Pro-Level Questions Answered
You’ve got questions. I’ve got the insider answers.
Can I make these completely sugar-free?
You can try, but texture suffers. The syrup is a binder. A sugar-free maple syrup will work, but often contains sugar alcohols that can cause digestive issues. For a lower-sugar option, I use half syrup and half mashed ripe banana. It changes the flavor, but it works.
My protein powder is super sweet. How do I adjust?
Great question. This is a common issue. If your protein powder is already sweetened, cut the maple syrup back to 1/4 cup. Mix, taste the dough (it’s safe!), and only add the extra tablespoon if you feel it needs it. The final salt pinch is even more important here to balance that artificial sweetness.
What’s the best way to store them for meal prep?
I layer them in a single layer in a flat, airtight container with parchment between layers. They freeze incredibly well for up to 3 months. Throw 2 in a small bag in the morning, and they’re thawed and perfect by your afternoon slump or post-workout window.
A Few Final Secrets
You have the blueprint. Here are the finishing touches that make these yours.
For a professional finish, after the final chill, you can roll them in crushed freeze-dried raspberries, matcha powder, or even more toasted oats. If you’re gifting them, store them in a paper bag for a few hours first. It absorbs any excess surface oil and makes them less messy to eat on the go. And if you’re looking for more simple, crunchy snack inspiration, our Cinnamon Apple Snacks are a fantastic choice.
Remember, the dough is your canvas. Taste it before you roll. Adjust the salt or sweetness to your palate. That’s the real pro move.
Now, I want to hear from you. Go make these my way—with the toasted oats and that final salt pinch. Did it change the game for you? Tell me your results or your own twist in the comments below. And if this became your new go-to workout snack, let everyone know!

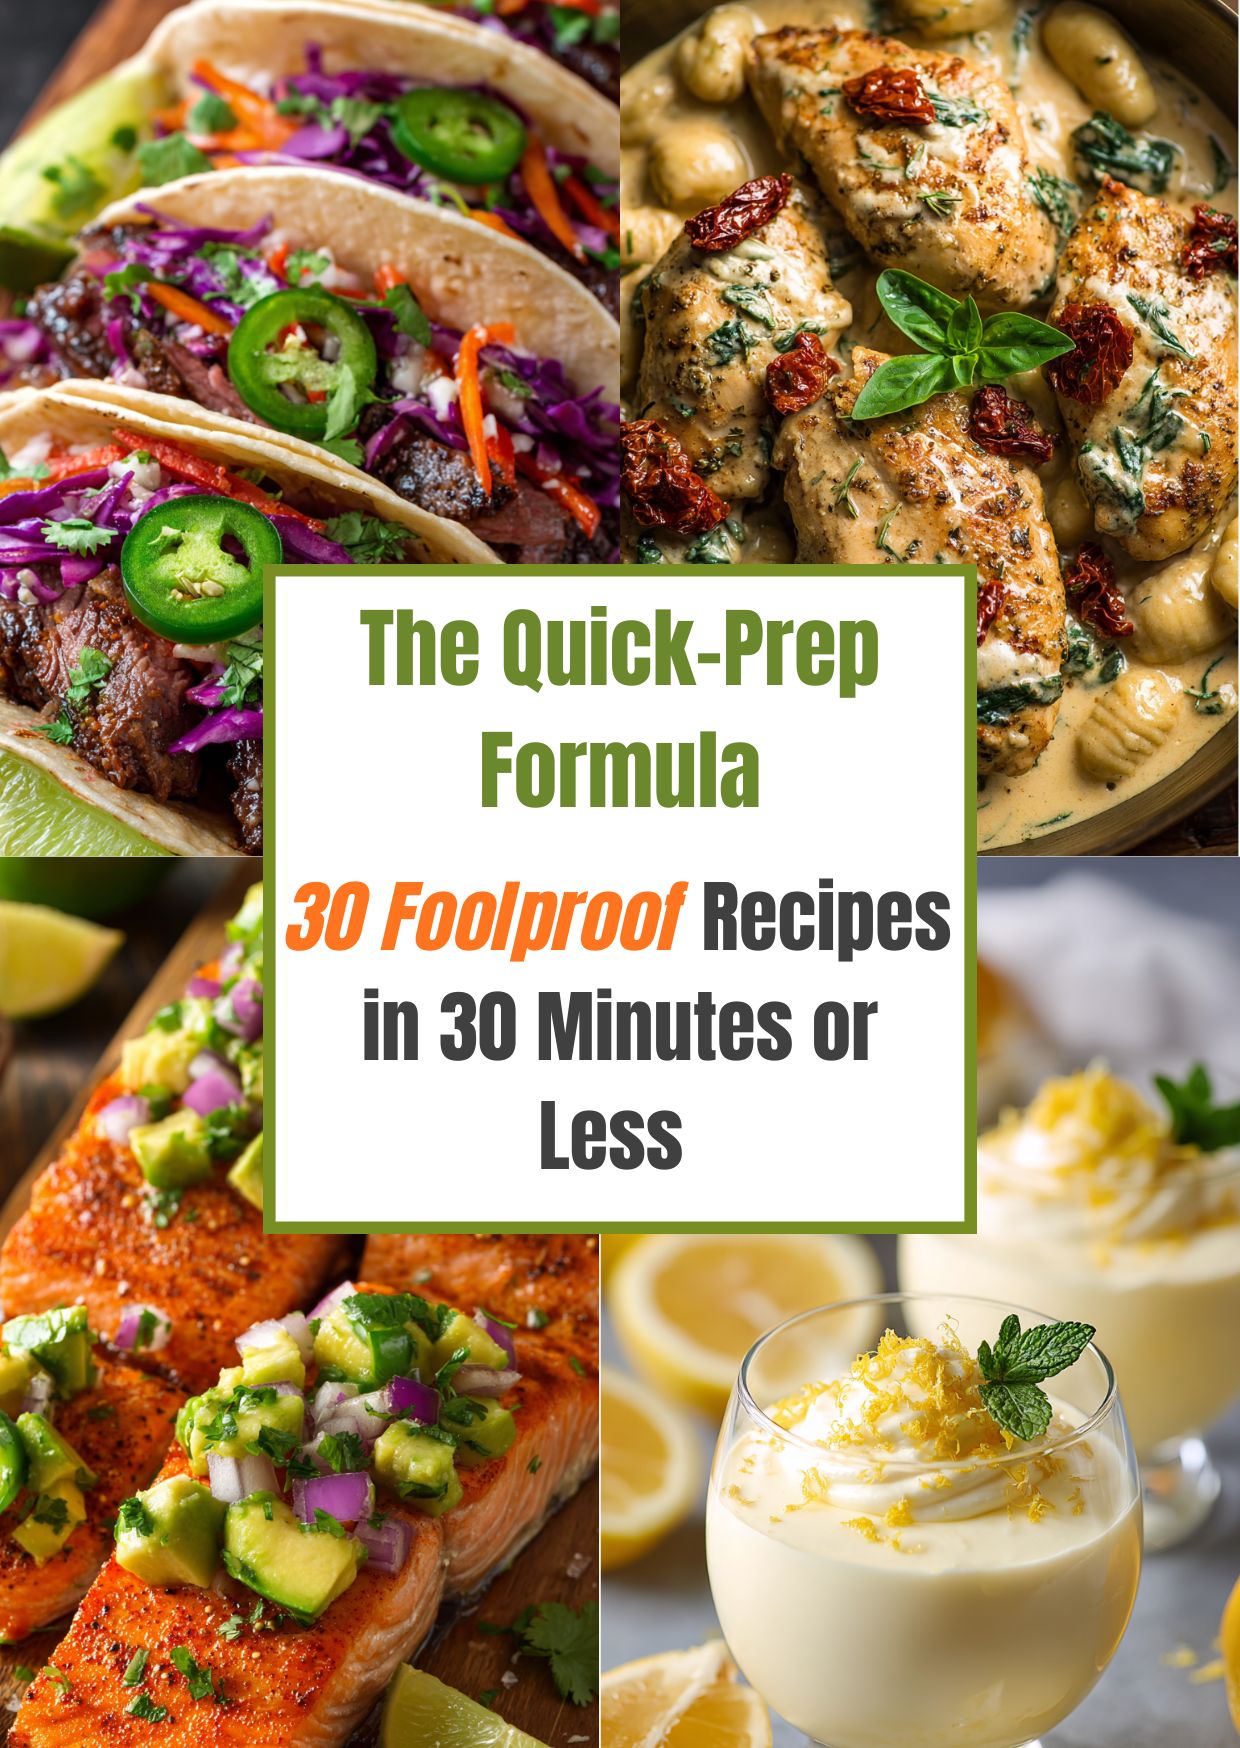 Tired of the 5 PM dinner panic? Grab my new 30-Minute Cookbook!