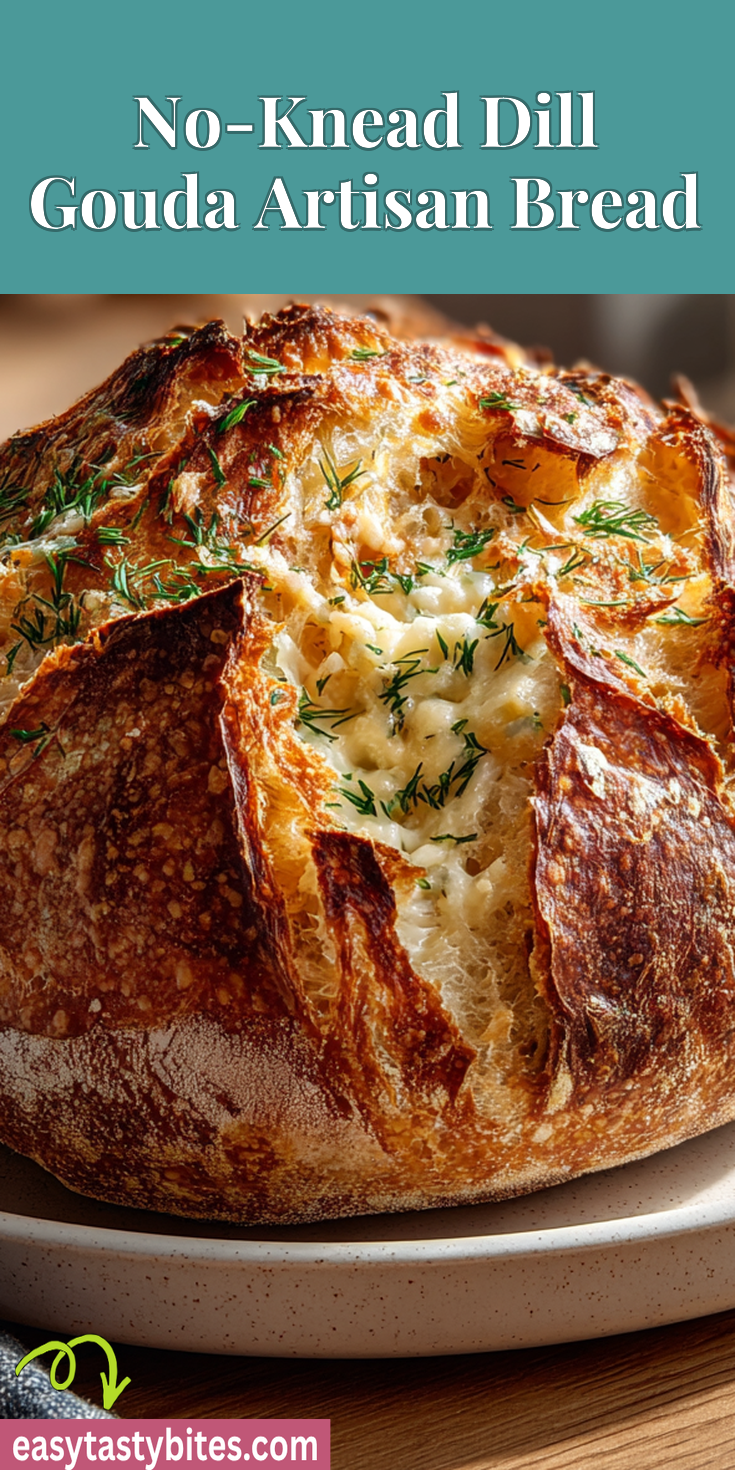
Some recipes just feel like a warm hug. For me, this classic No-Knead Dill Gouda Artisan Bread is one of them. The smell of dill and melting cheese baking in the oven takes me right back to my grandma’s kitchen. It was a place of simple magic and deep comfort, much like the ease of making juicy, garlicky shrimp in 20 minutes with no cleanup.
I remember her pulling a golden, crackling loaf from her old oven. The steam would billow out, smelling of earth and cream. We would wait, just for a moment, before she sliced into it. That first warm piece, slathered with butter, was pure happiness.
This recipe captures that feeling perfectly. It’s a traditional bread that asks for very little effort but gives back so much. You don’t need any special skills, just a bowl and a little time. Let’s make some memories together.
Recipe Overview
- Cuisine: American / Traditional Comfort
- Category: Bread / Side Dish
- Prep Time: 15 minutes (plus 12-18 hours resting)
- Cook Time: 45 minutes
- Total Time: 13-19 hours
- Servings: 1 large loaf (about 8-10 slices)
The Story Behind This Classic Recipe
This bread is my own twist on a memory. My grandma always made a simple dill bread for our family dinners. It was a staple next to her pot roasts and stews.
I wanted to honor that tradition but add a touch of her love for good cheese. Gouda was her favorite. Its mild, buttery flavor melts beautifully into the dough. It creates little pockets of creamy joy in every bite. This recipe blends her old-world style with a no-knead method I know she would have loved for its simplicity.
What Makes This the *Traditional* Way
True artisan bread isn’t about fancy tools. It’s about patience and honest ingredients. The no-knead method is actually a very old technique. It lets time and yeast do the work of developing flavor and texture.
We use active dry yeast, all-purpose flour, and real, fresh dill. No rapid-rise yeasts or complicated steps here. The long, slow rise is the secret. It builds a complex flavor and that wonderful, chewy crumb with a crisp crust we all dream about.
The Classic Ingredients (No Fancy Stuff!)
Gathering these simple ingredients is the first step. You likely have most in your pantry right now. Here’s what you’ll need:
- 3 cups (360g) all-purpose flour
- 1 ½ teaspoons kosher salt
- ½ teaspoon active dry yeast
- 1 ½ cups warm water (about 100-110°F)
- 1 cup (about 4 oz) shredded Gouda cheese
- ¼ cup finely chopped fresh dill
- Extra flour for dusting
How to Make It Just Like Grandma Did
Making this bread is a peaceful process. Trust the timing. Your patience will be rewarded with a loaf that looks and smells like it came from a professional bakery.
No-Knead Dill Gouda Artisan Bread Recipe
The Classic Ingredients (No Fancy Stuff!)
How to Make It Just Like Grandma Did
Notes
Enjoy your homemade No-Knead Dill Gouda Artisan Bread Recipe!
Nutrition Information
- Mix the Dough: In a large bowl, whisk together the flour, salt, and yeast. Pour in the warm water and stir with a wooden spoon until a shaggy, sticky dough forms. It will look messy, and that’s perfect.
- Add the Good Stuff: Gently fold in the shredded Gouda and chopped fresh dill until they are just distributed. Don’t over-mix.
- The Long Rest: Cover the bowl tightly with plastic wrap. Let it sit on your counter at room temperature for 12 to 18 hours. This long fermentation is the magic step that builds flavor.
- Shape the Loaf: The next day, the dough will be bubbly. Heavily flour a work surface and your hands. Gently scoop the dough out and fold it over itself a few times to form a rough ball.
- Preheat and Prep: Place the dough ball on a piece of parchment paper. Let it rest for 30 minutes while you preheat your oven to 450°F (230°C). Put your Dutch oven (with its lid on) inside to heat up.
- Bake: Carefully remove the hot Dutch oven. Lift the dough by the parchment paper and lower it inside. Put the lid back on. Bake covered for 30 minutes.
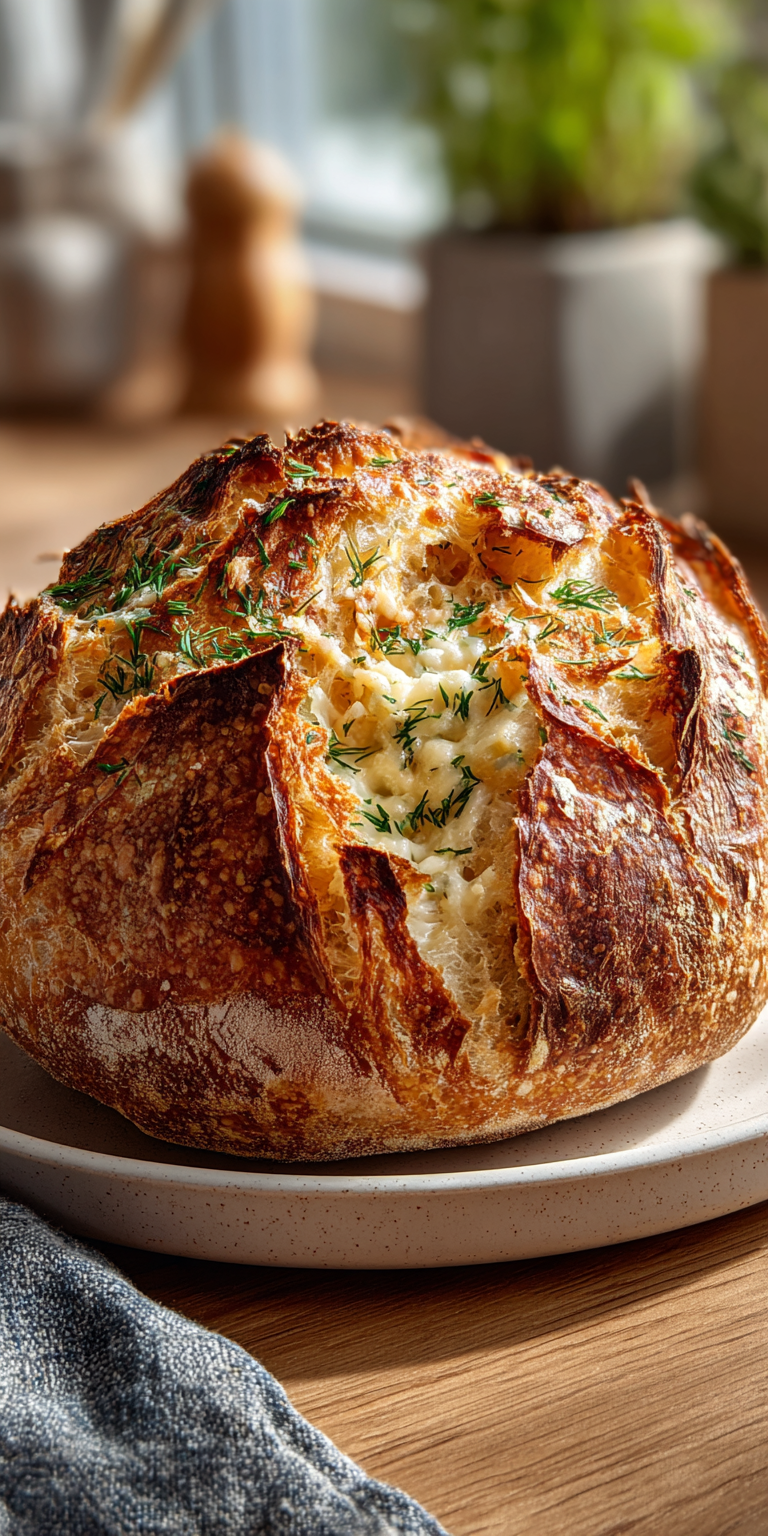
- Crisp the Crust: Remove the lid and bake for another 15 minutes, until the crust is a deep, glorious golden brown.
- Cool: This is the hardest part! Let the bread cool completely on a wire rack for at least an hour before slicing. This sets the crumb.
My Tips for Perfecting This Classic
A few small things can make your bread even better. These are the tricks I’ve learned over many, many loaves.
First, use a kitchen scale for the flour if you can. Measuring by weight is the best way to get consistent results every single time. Second, don’t skip the pre-heat for your Dutch oven. A blazing hot pot is what gives you that explosive “oven spring” and crackly crust. Finally, fresh dill is key. Its bright, grassy flavor is so much better than dried for this recipe.
How to Store and Enjoy Later
This bread is best the day it’s made, eaten warm with good butter. But it stores wonderfully. Once completely cool, wrap the whole loaf in foil.
Keep it at room temperature for 2-3 days. To bring back that just-baked feel, wrap a slice in foil and warm it in a 350°F oven for 10 minutes. You can also slice and freeze the whole loaf. Just pop a frozen slice straight into the toaster.
Nutrition Notes
This is a homemade comfort food, made with real ingredients. Here’s a basic look at what’s in a slice.
- Calories: ~180
- Carbohydrates: 28g
- Protein: 6g
- Fat: 5g
- Saturated Fat: 3g
- Fiber: 1g
If you’re looking for another satisfying treat with a great protein boost, you’ll love this easy no-bake high-protein chocolate pudding.
Your Questions About This Classic Recipe
I get a few questions about this bread all the time. Here are the answers to help you on your way.
Can I use dried dill instead of fresh?
You can, but the flavor will be different. Use 1 tablespoon of dried dill instead of the ¼ cup fresh. The fresh herb gives a brighter, more authentic taste that I truly prefer for this classic dish.
I don’t have a Dutch oven. What can I use?
No problem! You can use any heavy, oven-safe pot with a tight-fitting lid. A deep cast-iron skillet with a foil-covered baking sheet placed on top as a lid will also work in a pinch. The goal is to trap the steam.
Why is my dough so wet and sticky?
That’s exactly how it should be! A wet, sticky dough is the hallmark of a great no-knead bread. It’s what creates those beautiful, irregular holes in the crumb. Just make sure to flour your hands and work surface well when you shape it.
I hope this recipe finds a place in your kitchen and in your heart. It’s more than just bread; it’s a connection to the simple, good things. The kind of food that turns an ordinary dinner time into something special.
Making it fills your home with a smell that promises comfort. I can’t wait for you to experience that first, perfect slice. Did this recipe bring back memories for you? Please let me know how your loaf turned out in the comments below—I love hearing your stories! And if you have a sweet tooth, you must try this indulgent high-protein chocolate pudding for a delicious no-bake dessert.