You’ve made pickled eggs before, but you’ve never made them like this. I’m about to share the one secret that changes everything. It’s the kind of simple, transformative trick that makes our classic banana muffins so reliably perfect.
It’s not a fancy spice or a rare vinegar. It’s a simple technique most home cooks skip. This secret is the difference between a good snack and a legendary jar.
Ready to transform your classic pickled eggs? Let’s get into it.
Recipe Overview
- Cuisine: American / Preservation
- Category: Appetizer, Snack
- Prep Time: 20 minutes
- Cook Time: 15 minutes (for eggs)
- Total Time: 5 days (for curing)
- Servings: 12 eggs
The Secret Ingredient That Makes All the Difference
It’s not what you add. It’s what you don’t do. The secret is temperature shock.
You must plunge your hot, hard-boiled eggs directly into an ice bath. Not just cool water. A bowl full of ice and water. This stops the cooking dead in its tracks.
It creates a firmer, more resilient white. That firmness is key. It lets the egg absorb flavor without getting rubbery. It also makes peeling a total breeze.
Why This Method is Better (My Pro-Tips)
I don’t just make refrigerator pickled eggs. I build flavor with layers. Most recipes dump everything into the pot at once.
My method blooms the spices in the hot brine. I toast the peppercorns and mustard seeds for 30 seconds in the dry pot first. This wakes up their oils.
Then I add the vinegar and salt. This creates a more complex, rounded flavor from day one. The eggs don’t have to work as hard to taste amazing.
The “Upgraded” Ingredient List
- 12 large eggs, at room temperature
- 2 cups white vinegar (5% acidity)
- 1 cup water
- 1 tbsp black peppercorns
- 2 tsp yellow mustard seeds
- 4-6 cloves garlic, lightly smashed
- 2 bay leaves
- 1 tsp dill seed (not weed)
- 1 medium red onion, thinly sliced
- 1 1/2 tbsp kosher salt (do not use iodized table salt)
- 1 tsp granulated sugar (optional, for balance – this is a pickled eggs without sugar recipe if you skip it)
The Pro-Method (Step-by-Step)
- Place your room-temperature eggs in a single layer in a pot. Cover with cold water by an inch. Bring to a rolling boil.
- Once boiling, cover the pot and remove it from the heat. Let it sit for exactly 10 minutes. This is the perfect hard boil.
- While the eggs cook, prepare your ice bath. Fill a large bowl with cold water and two cups of ice.
- When the timer goes off, use a slotted spoon to immediately transfer each egg to the ice bath. Let them chill for 15 minutes.
- Now, make the brine. In a clean pot, toast the peppercorns and mustard seeds over medium heat for 30 seconds until fragrant.
- Add the vinegar, water, salt, sugar (if using), garlic, bay leaves, and dill seed. Bring this to a simmer, then turn off the heat.
- Peel your cooled eggs. The shells should slide right off. Place them in a very clean, 1.5-quart glass jar.
- Tuck the sliced red onion in between the eggs. Slowly pour the warm brine over everything, making sure the eggs are fully submerged.
- Let the jar cool to room temperature on the counter. Then, seal it and refrigerate. The waiting game begins.
Common Mistakes & How to Fix Them
Rubbery Eggs: This happens from overcooking. The 10-minute off-heat steam is non-negotiable. Also, never use fresh eggs. Eggs 7-10 days old peel best.
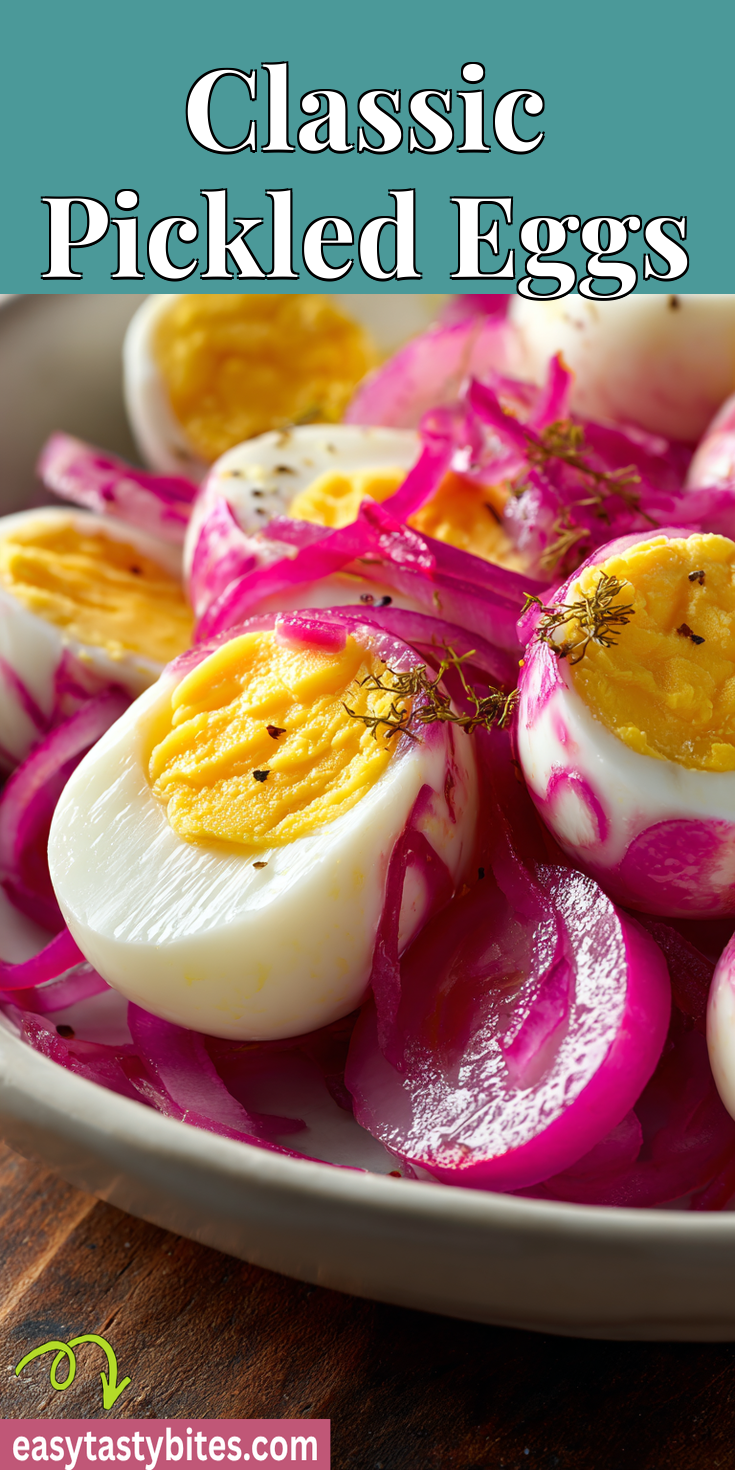
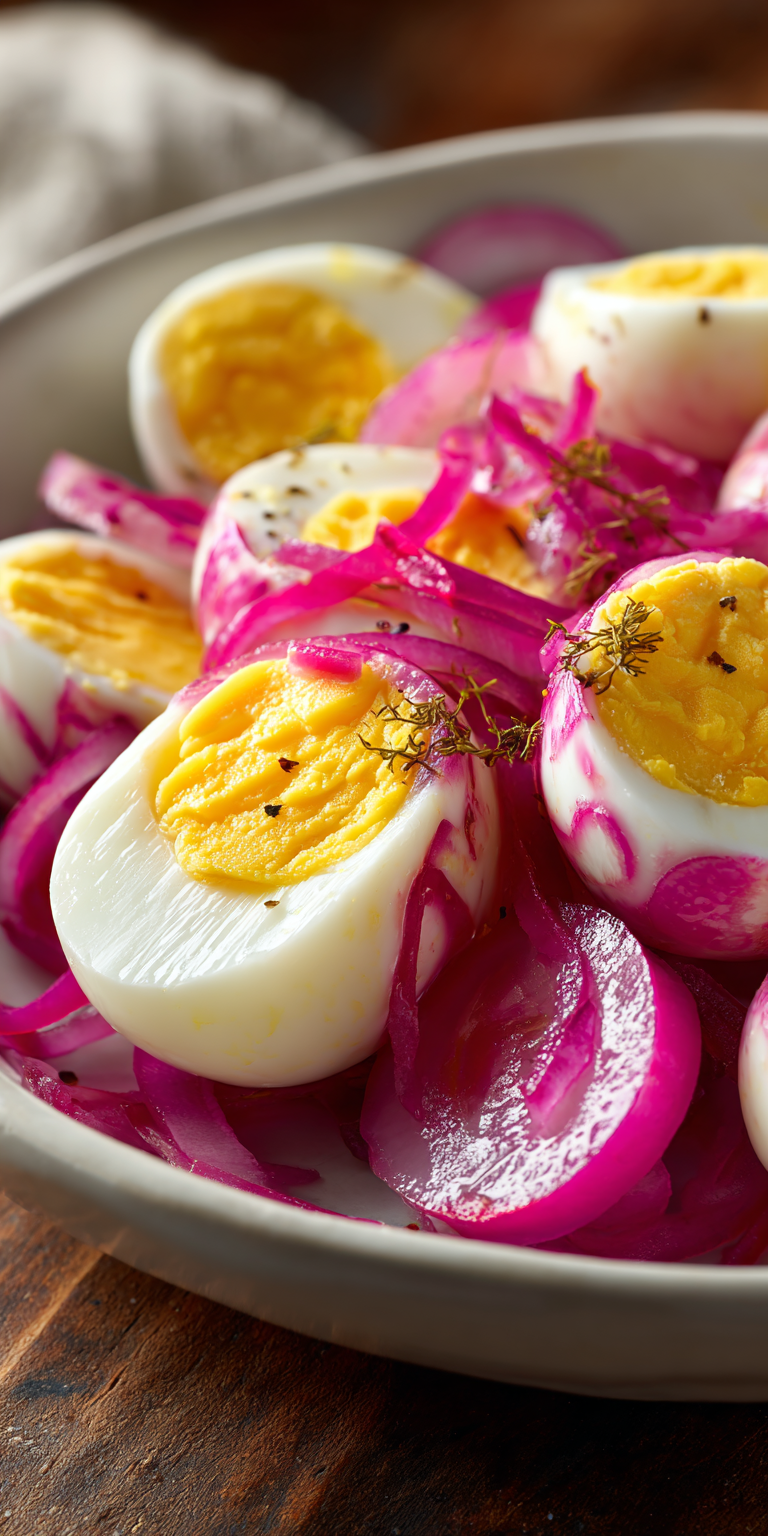
Classic Pickled Eggs Recipe
The “Upgraded” Ingredient List
The Pro-Method (Step-by-Step)
Notes
Enjoy your homemade Classic Pickled Eggs Recipe!
Nutrition Information
Weak Flavor: You didn’t wait long enough. True flavor needs at least 5 days. For the best taste, give them a full week. Patience is a pickling ingredient.
Cloudy Brine or Floating Eggs: This is a food safety red flag. Cloudiness can mean bacterial growth. Floating eggs aren’t fully preserved. Always keep your pickled eggs in the fridge and fully submerged.
Variations for the Adventurous Cook
Once you master the base, play with it. Swap the white vinegar for apple cider vinegar for a fruiter tang. It’s a game-changer.
For heat, add 2-3 dried arbol or cayenne peppers to the brine. For a “pickled” flavor, add 1/2 cup of juice from your favorite dill pickle jar.
Try beet juice instead of 1 cup of water for stunning pink eggs and an earthy sweetness. The color is incredible. For another comforting, savory project, try our classic 7 can taco soup on a busy weeknight.
Nutrition Notes
- Calories: ~70 per egg
- Protein: 6g
- Fat: 5g
- Carbs: <1g (for unsweetened brine)
- Sodium: ~200mg (varies with brine absorption)
Your Pro-Level Questions Answered
How long do homemade pickled eggs last?
If you keep them refrigerated and the eggs stay submerged, they are safe for 3-4 months. For the best texture and flavor, enjoy them within the first 2 months.
Can I reuse the pickled egg brine?
I don’t recommend it for a new batch of eggs. The brine is diluted from the first use. However, you can use it as a killer marinade for chicken or a splash in a potato salad dressing.
Why do you insist on room-temperature eggs?
Cold eggs straight from the fridge are more likely to crack when they hit the hot water. Starting them at room temperature leads to more consistent cooking and fewer casualties.
A Few Final Secrets
The real magic happens in the dark of your fridge. Don’t peek for the first few days. Let the science work.
Label your jar with the date. It’s easy to forget when you started. The best tool for getting eggs out? Clean kitchen tongs. Don’t use your fingers.
Serve them straight from the fridge, cold and firm. They’re the perfect high-protein snack, a stunning bar snack, or a bold salad topper. If you love creamy, comforting flavors, you’ll adore our Italian white lasagna soup for a different kind of cozy meal.
Now you have all my secrets. Your next batch of DIY pickled eggs will be your best ever. I want to hear about it! Did the temperature shock change the game for you? What variation did you try? Tell me everything in the comments below and rate this recipe if you loved it!